GoldenGate Service (GGS) – Deployment Configuration
Deployments
Deployments are a GoldenGate concept that has been around since 2017. In many cases, it is one of the more difficult things to explain, but when it clicks the concept is great and leads to many complex architectures. For the cloud, Oracle GoldenGate (Microservices) is a great option for moving data in and out of the clouds. I could list many more and maybe I will at some point; however, that is not the point of this post. In this post, we will take a look at how to configured deployments within OCI GoldenGate Service (GGS).
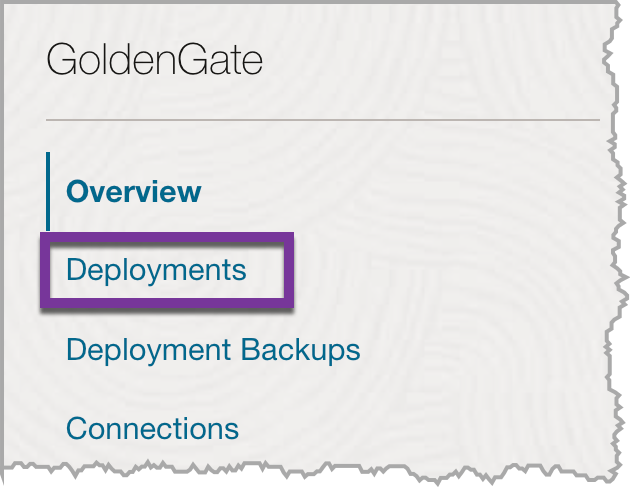
After navigating to the GoldenGate page within OCI, there are two locations that can be selected for creating a deployment. The first is in the middle of the page – a button called “create deployment”. The second is under the sub-menu on the left hand side, which makes it easier to access. At this point, we want to select “Deployments” from the sub-menu.
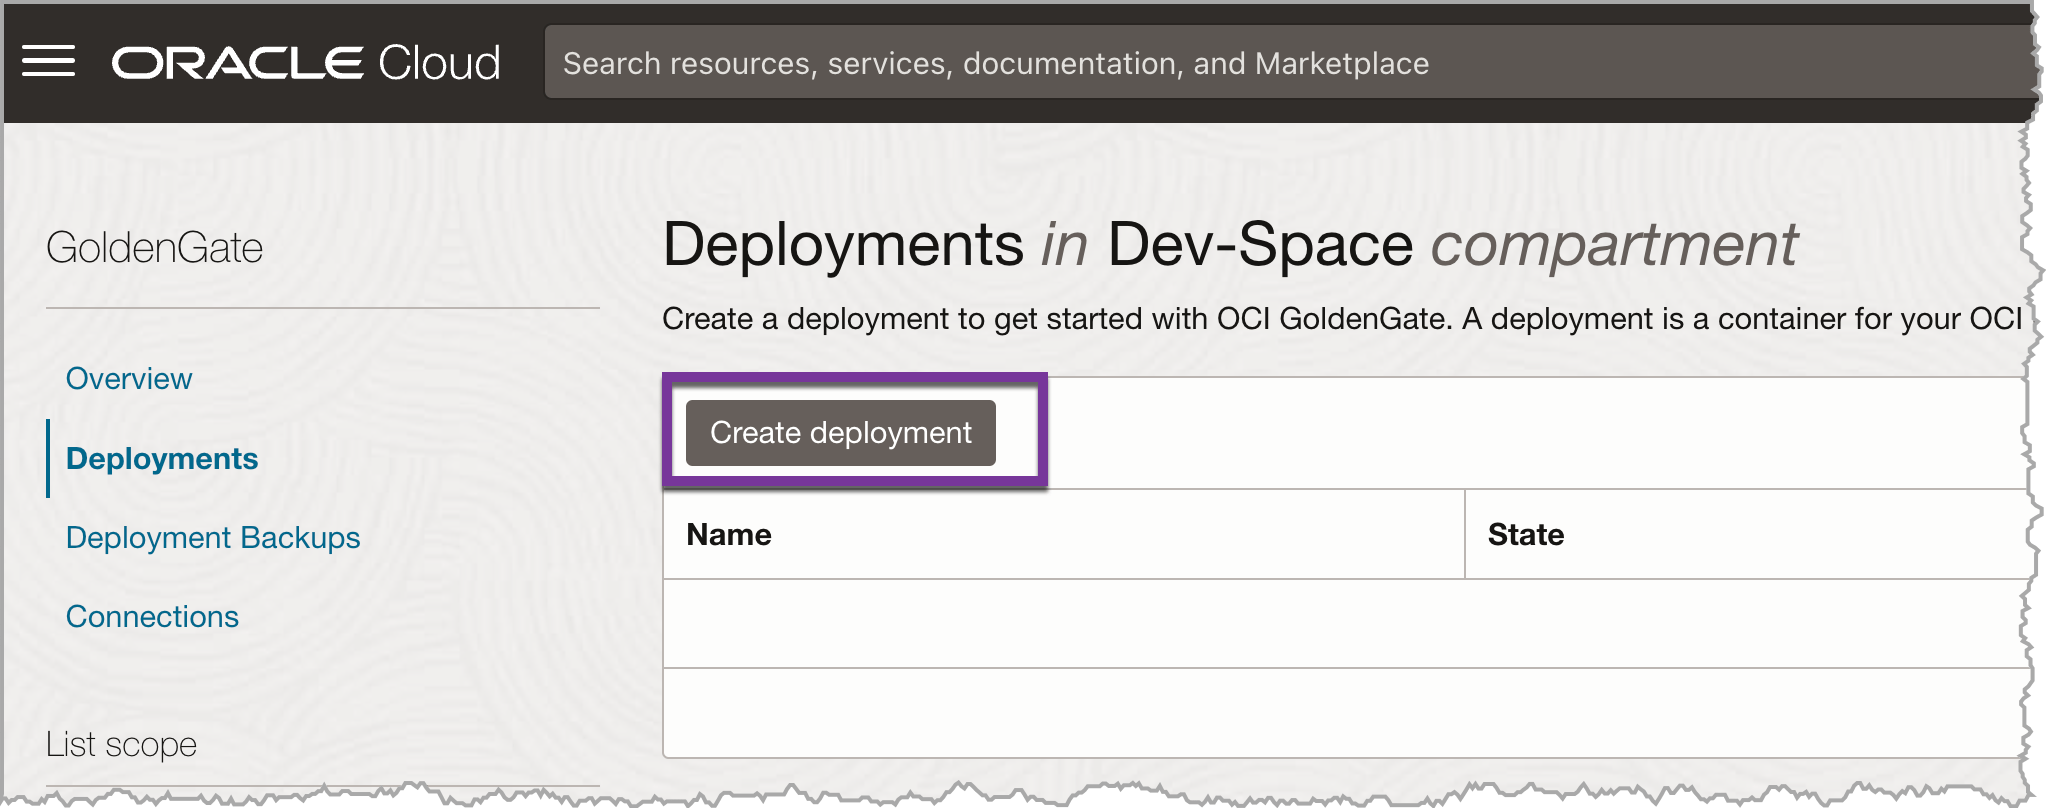
After select “Deployments”, we are taken to the “Deployments” page. On this page, we can create a deployment by selecting the “Create Deployment” button.
After clicking the “Create Deployment” button, a dialog will open from the right-hand side of the screen. On this dialog, we can provide the General Information for the deployment as well as GoldenGate Details that are needed. At the same time, we can make the choice on what type of licensing we want to use. If you have a support-enabled license of GoldenGate (on-premises – classic or microservices), select BYOL. If you want to use the integrated license + support, select License Included.
Note: GoldenGate Service is not a free service and we need to consider what type of license we needed.
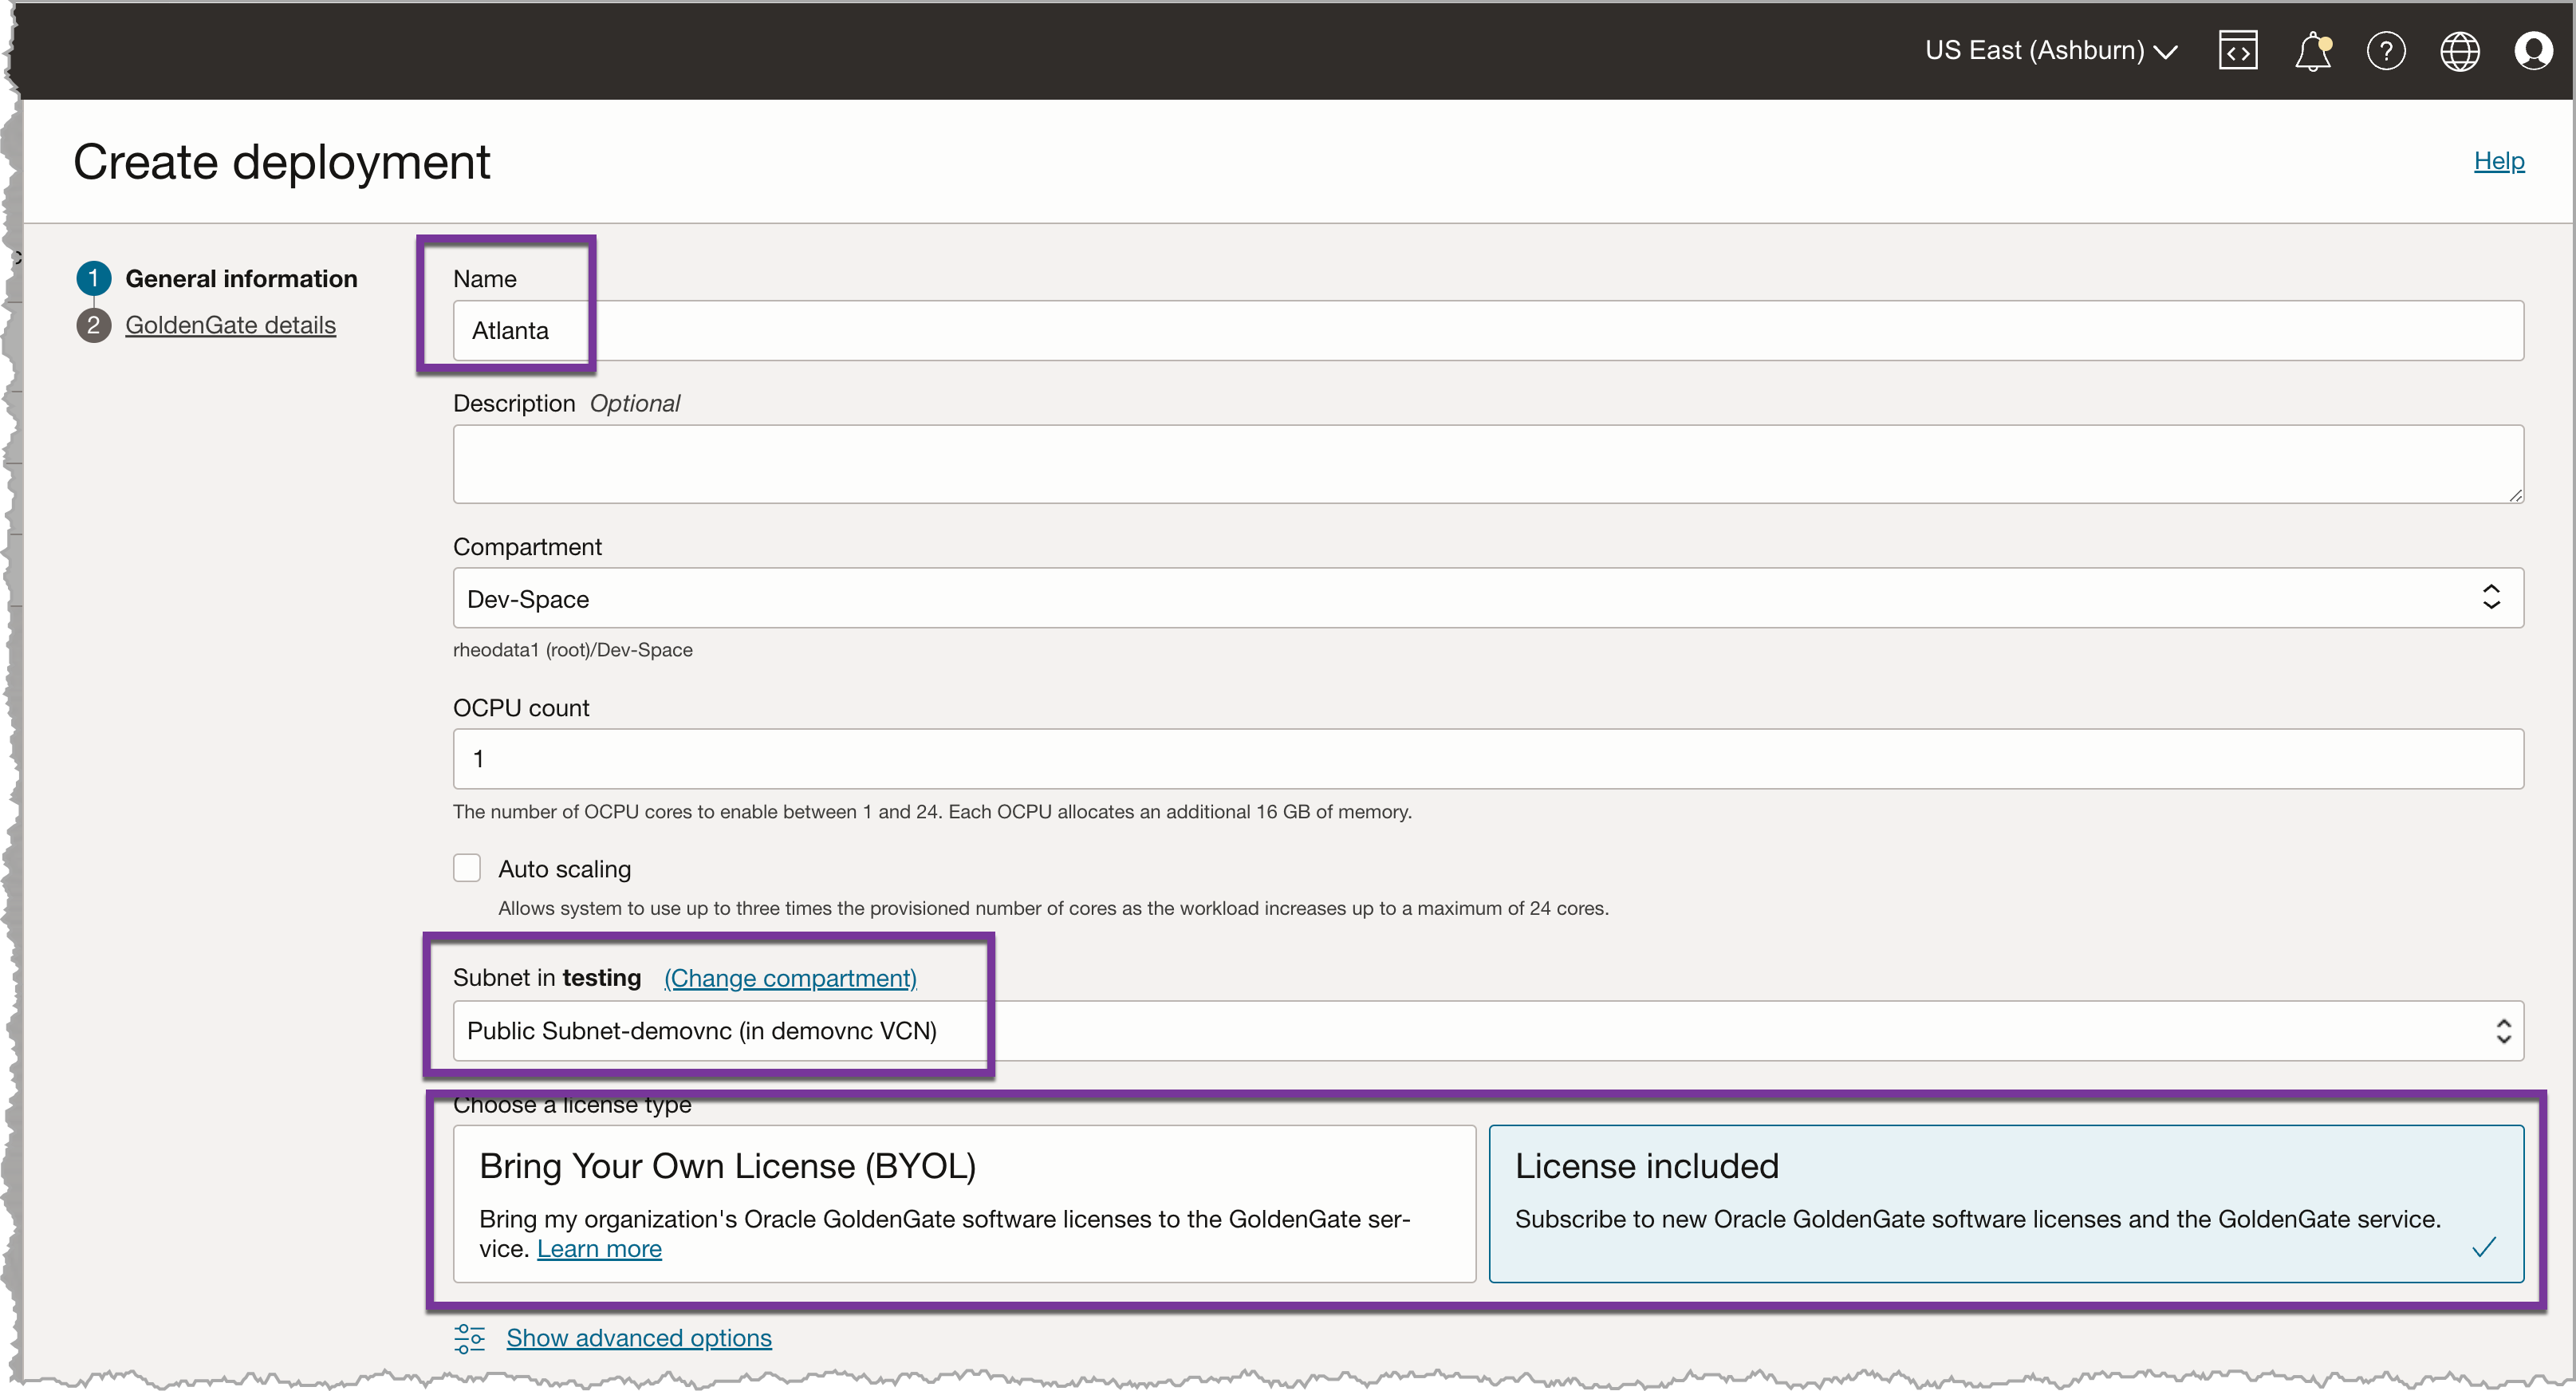
Clicking Next, we are taken to the GoldenGate Details dialog for the deployment. There is a good bit of information on this screen.
The first thing to notice is the “Select a technology” drop down menu. This menu contains all the different versions of GoldenGate that can be used. This includes Oracle plus a few heterogenous options. Select the technology we want to use – in this case, we are going to use Oracle.

After selecting the technology we want to use, the next item down is the Version and what technologies are supported. What are displayed here will change depending on what we selected. For Oracle, we are using the latest release of the binaries (Version) and it supports a wide range of Oracle platforms on OCI as well as other clouds.
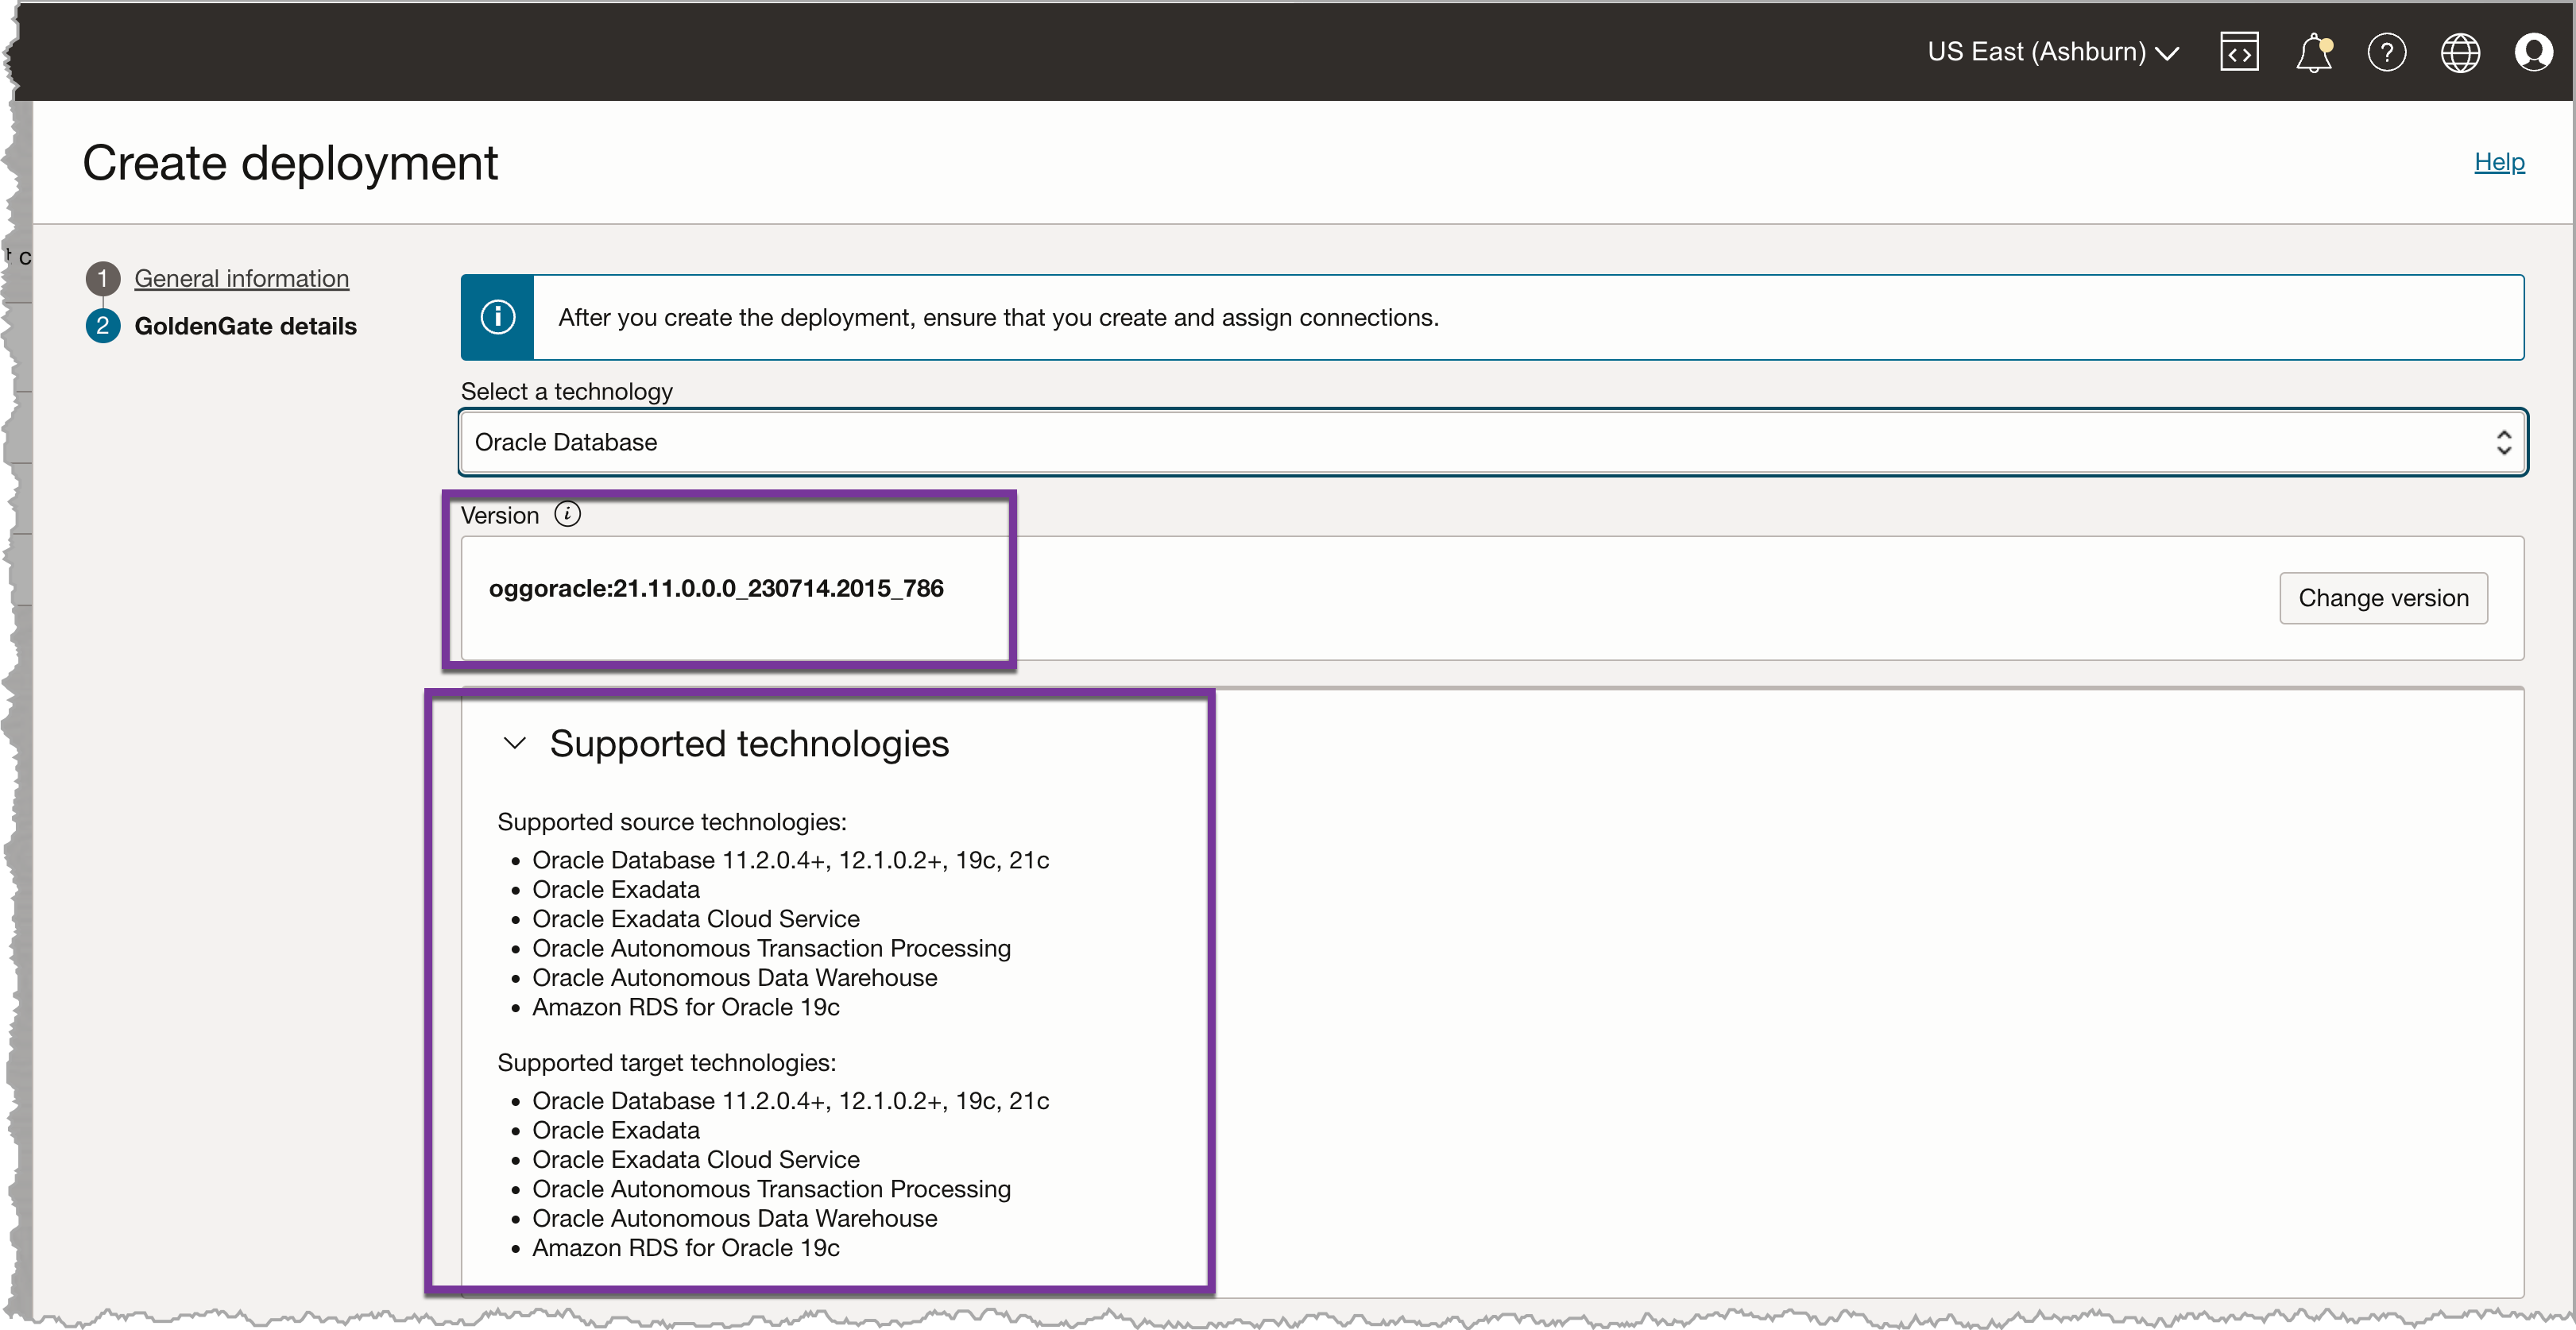
Note: If we wanted to use an older package of GoldenGate – under the “Version” there is a button called “Change Version”. By clicking this button, we are presented with a dialog that has multiple version that can be selected.
The last half of the deployment dialog screen, is where we will give the GoldenGate instance a name, provide the admin username and admin password. All these items correspond to details that would be provided for the ServiceManager in an on-premises configuration. The admin username and password will be used to login to the GoldenGate instance once it is up and running.
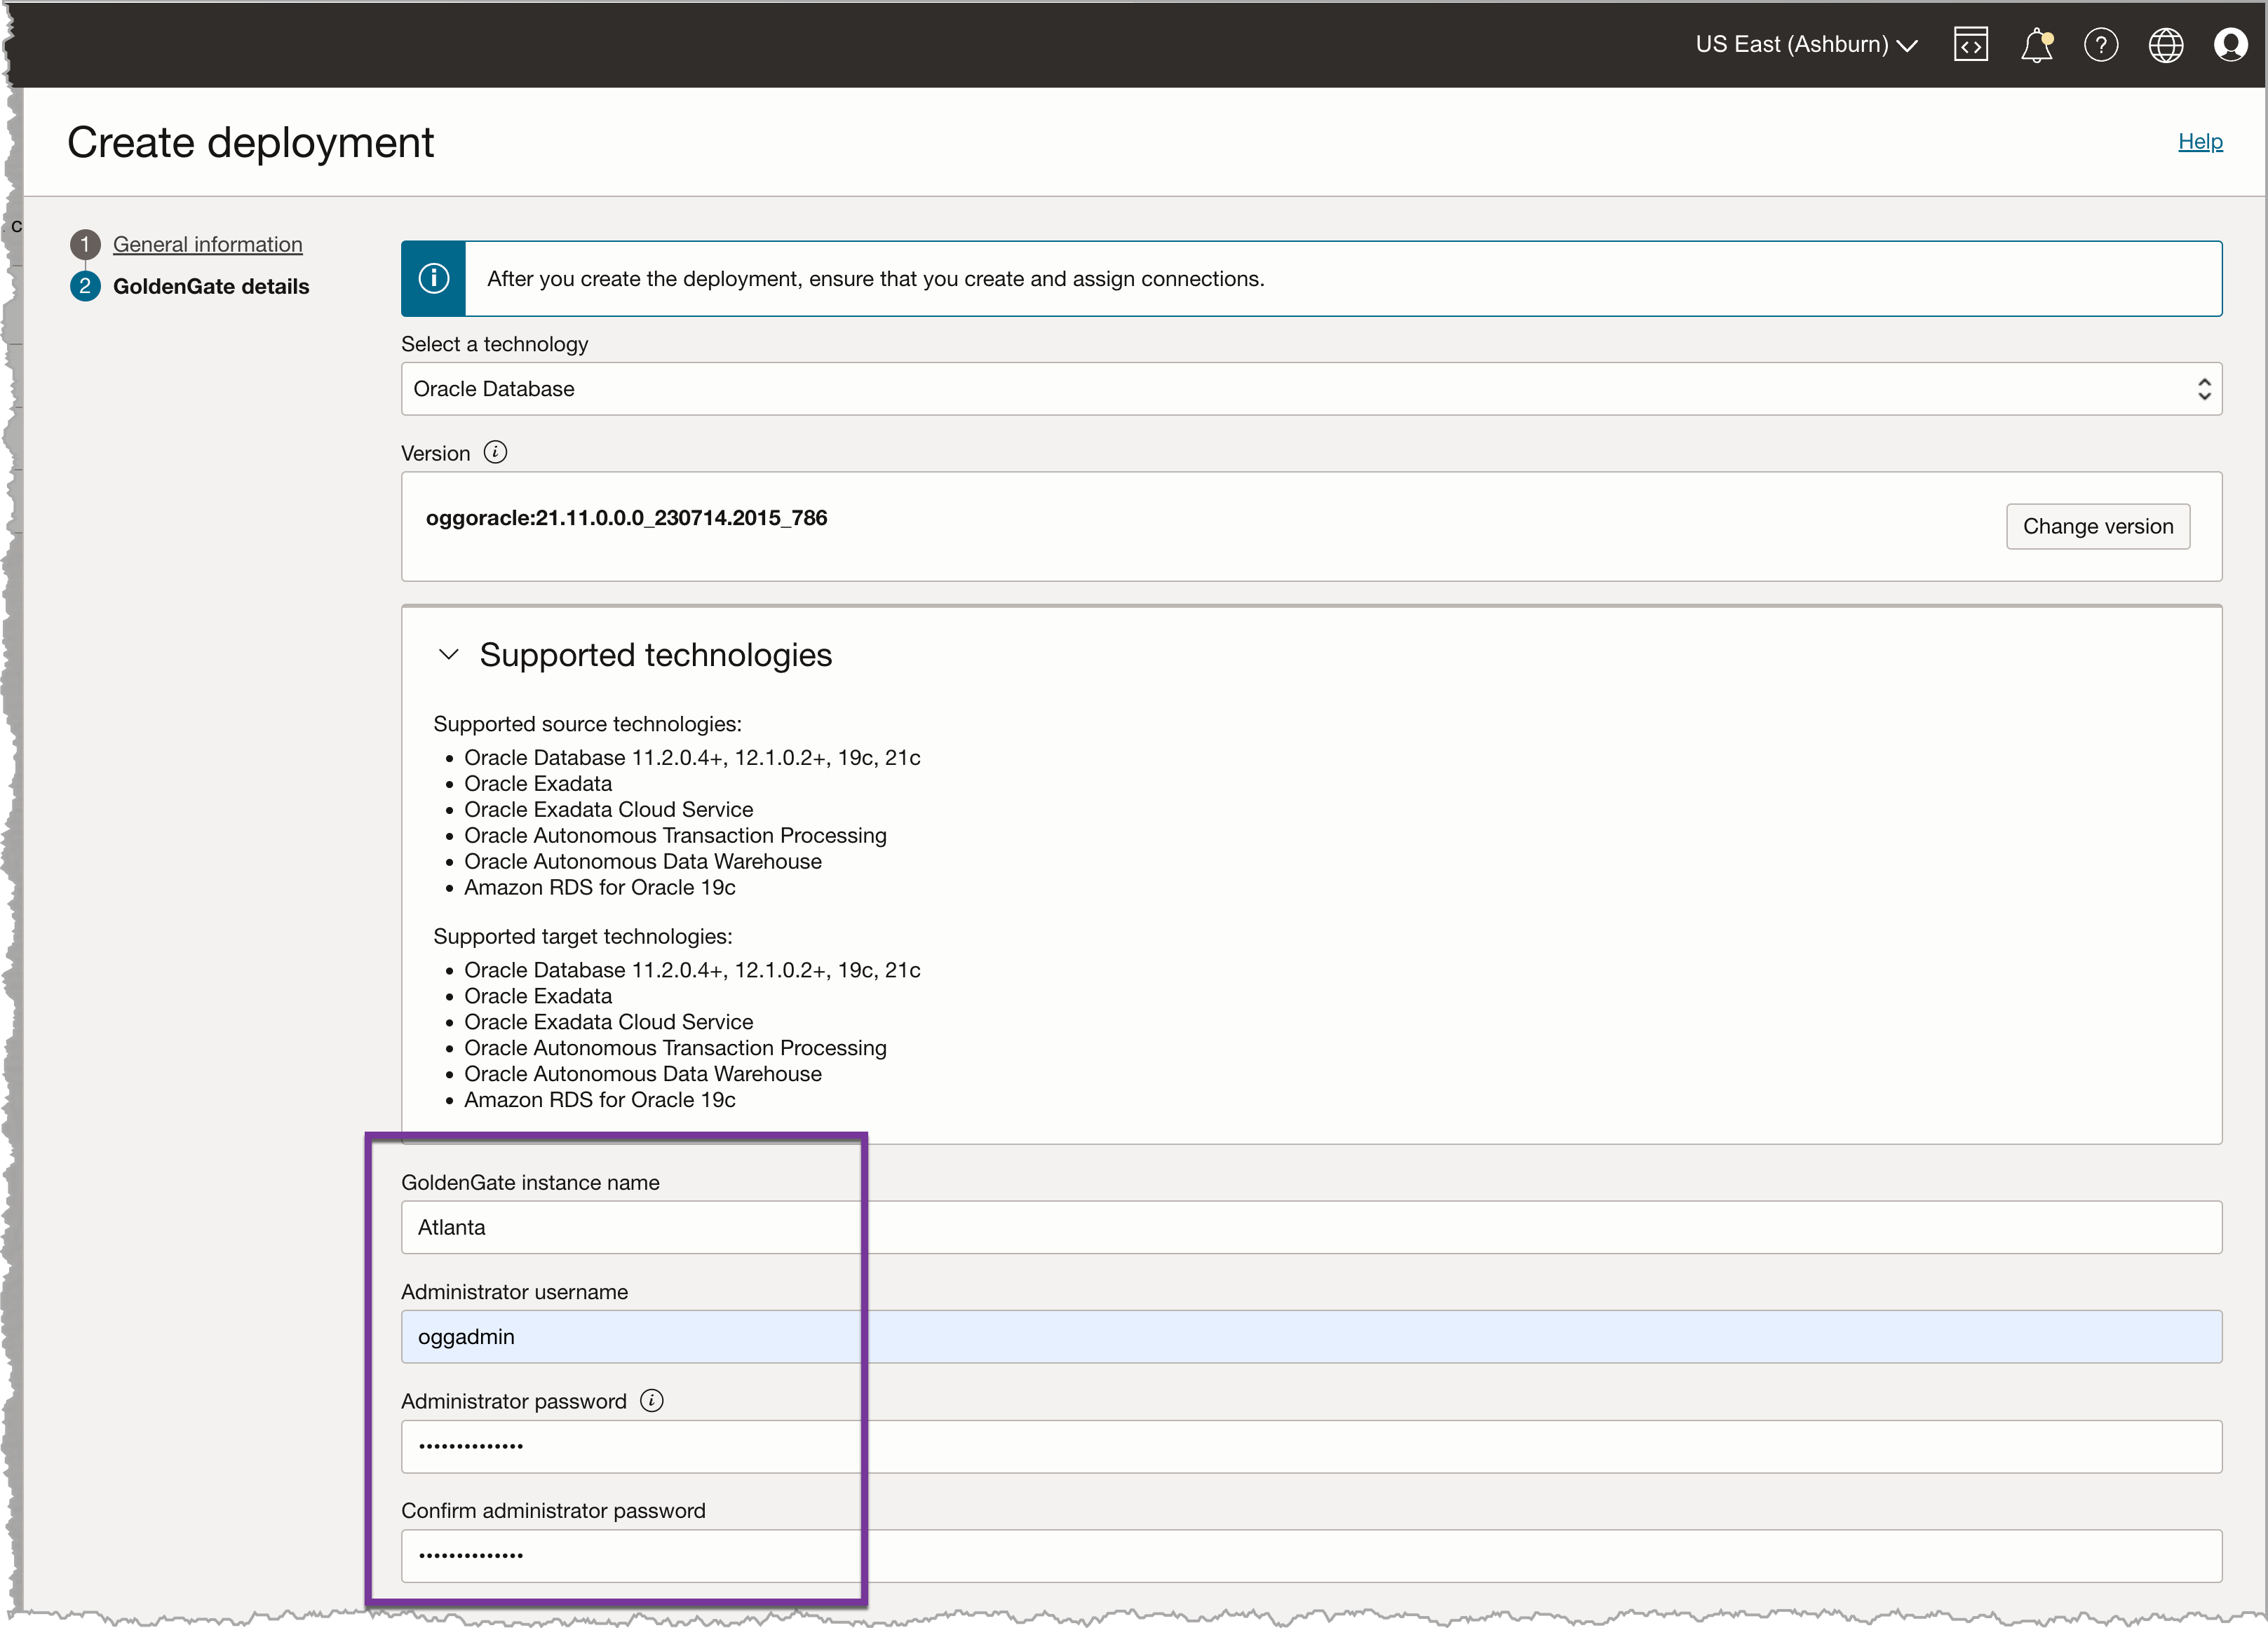
With all the information need provide, we can now click the “Create” button and build the deployment. This will drop us back at the Deployment details page.
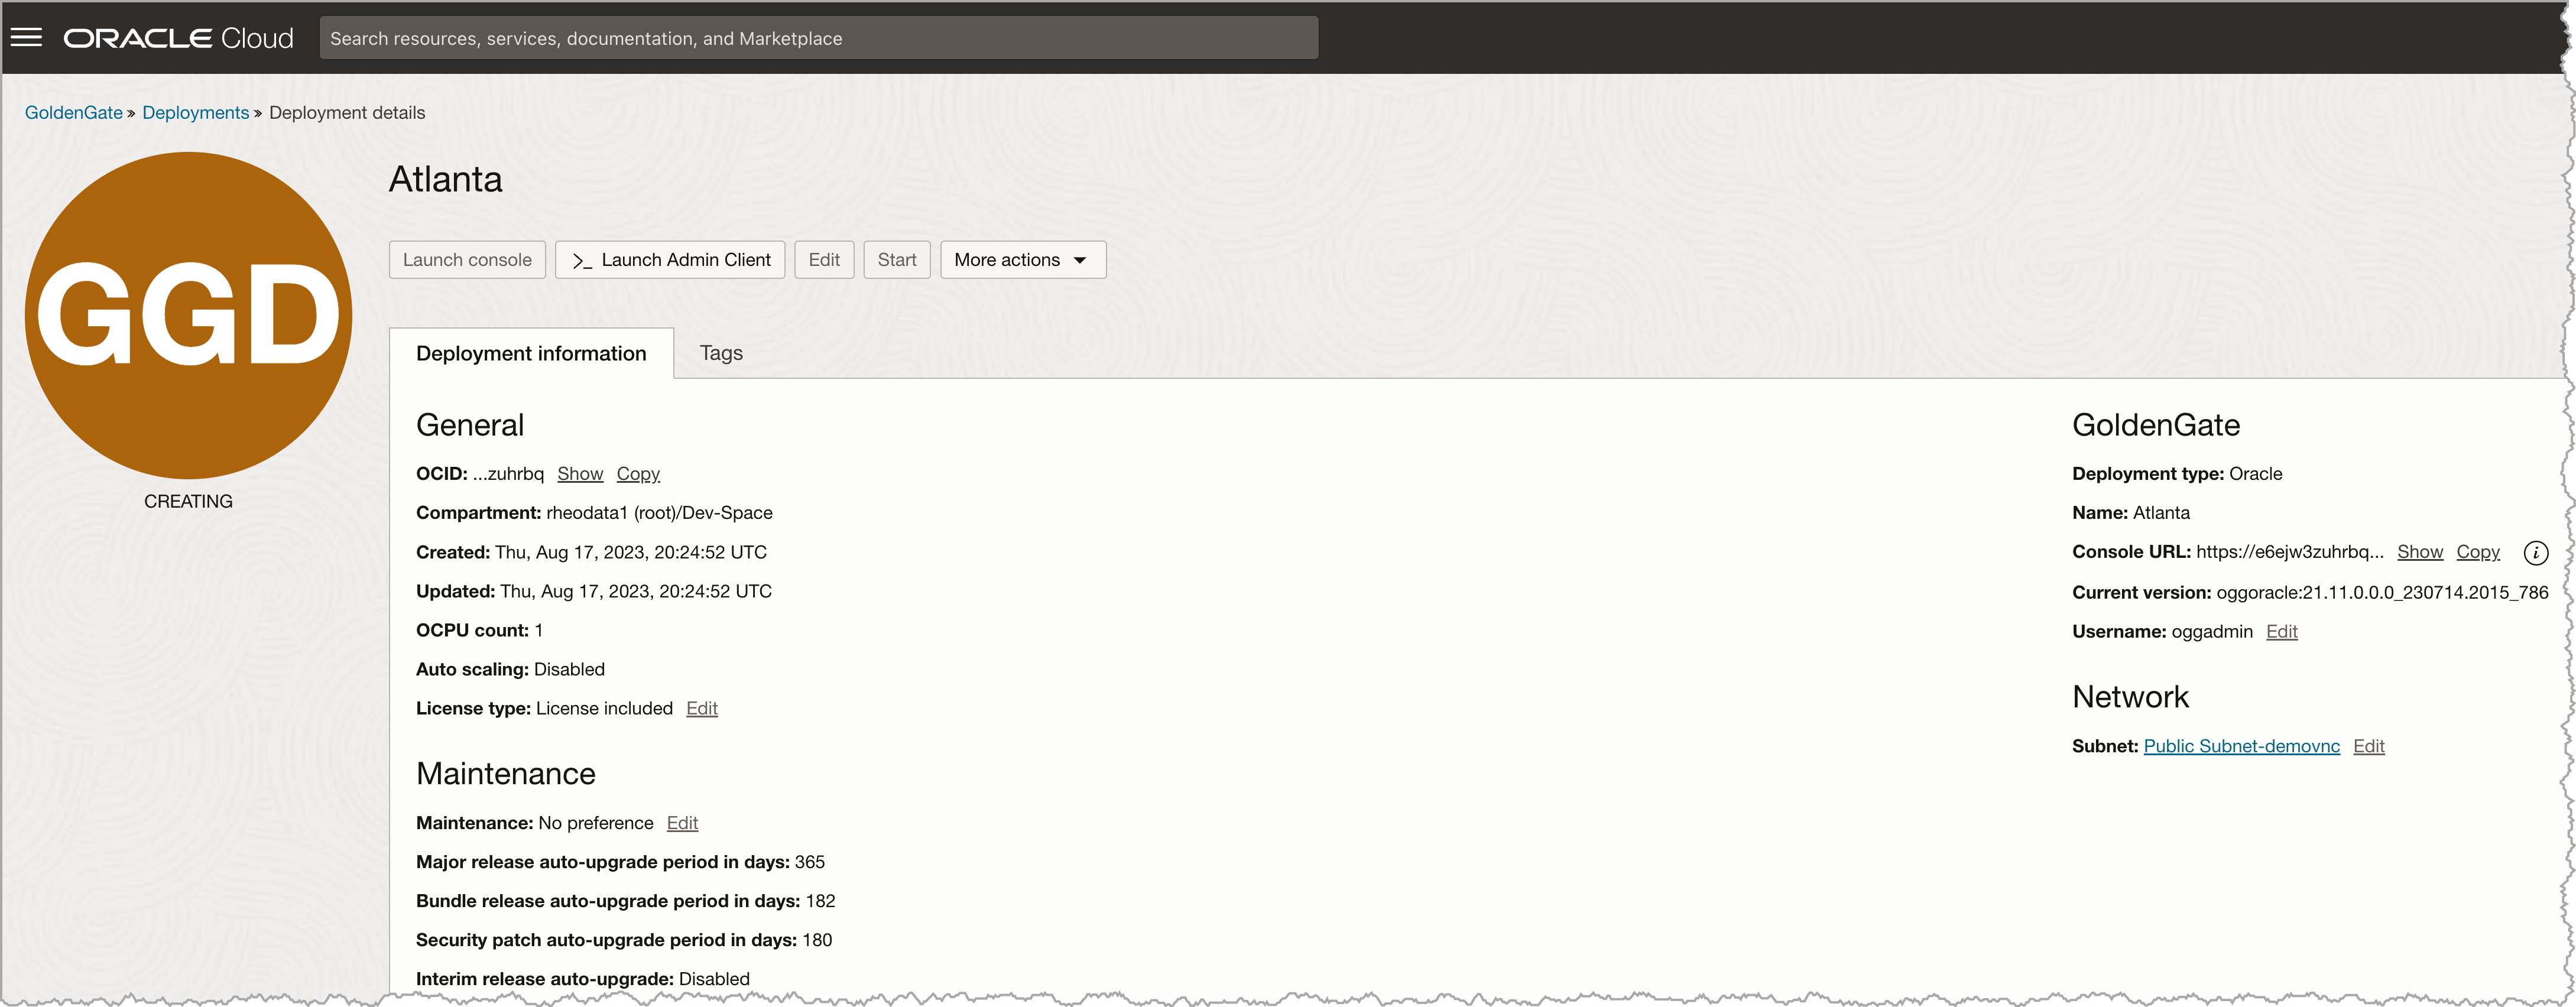
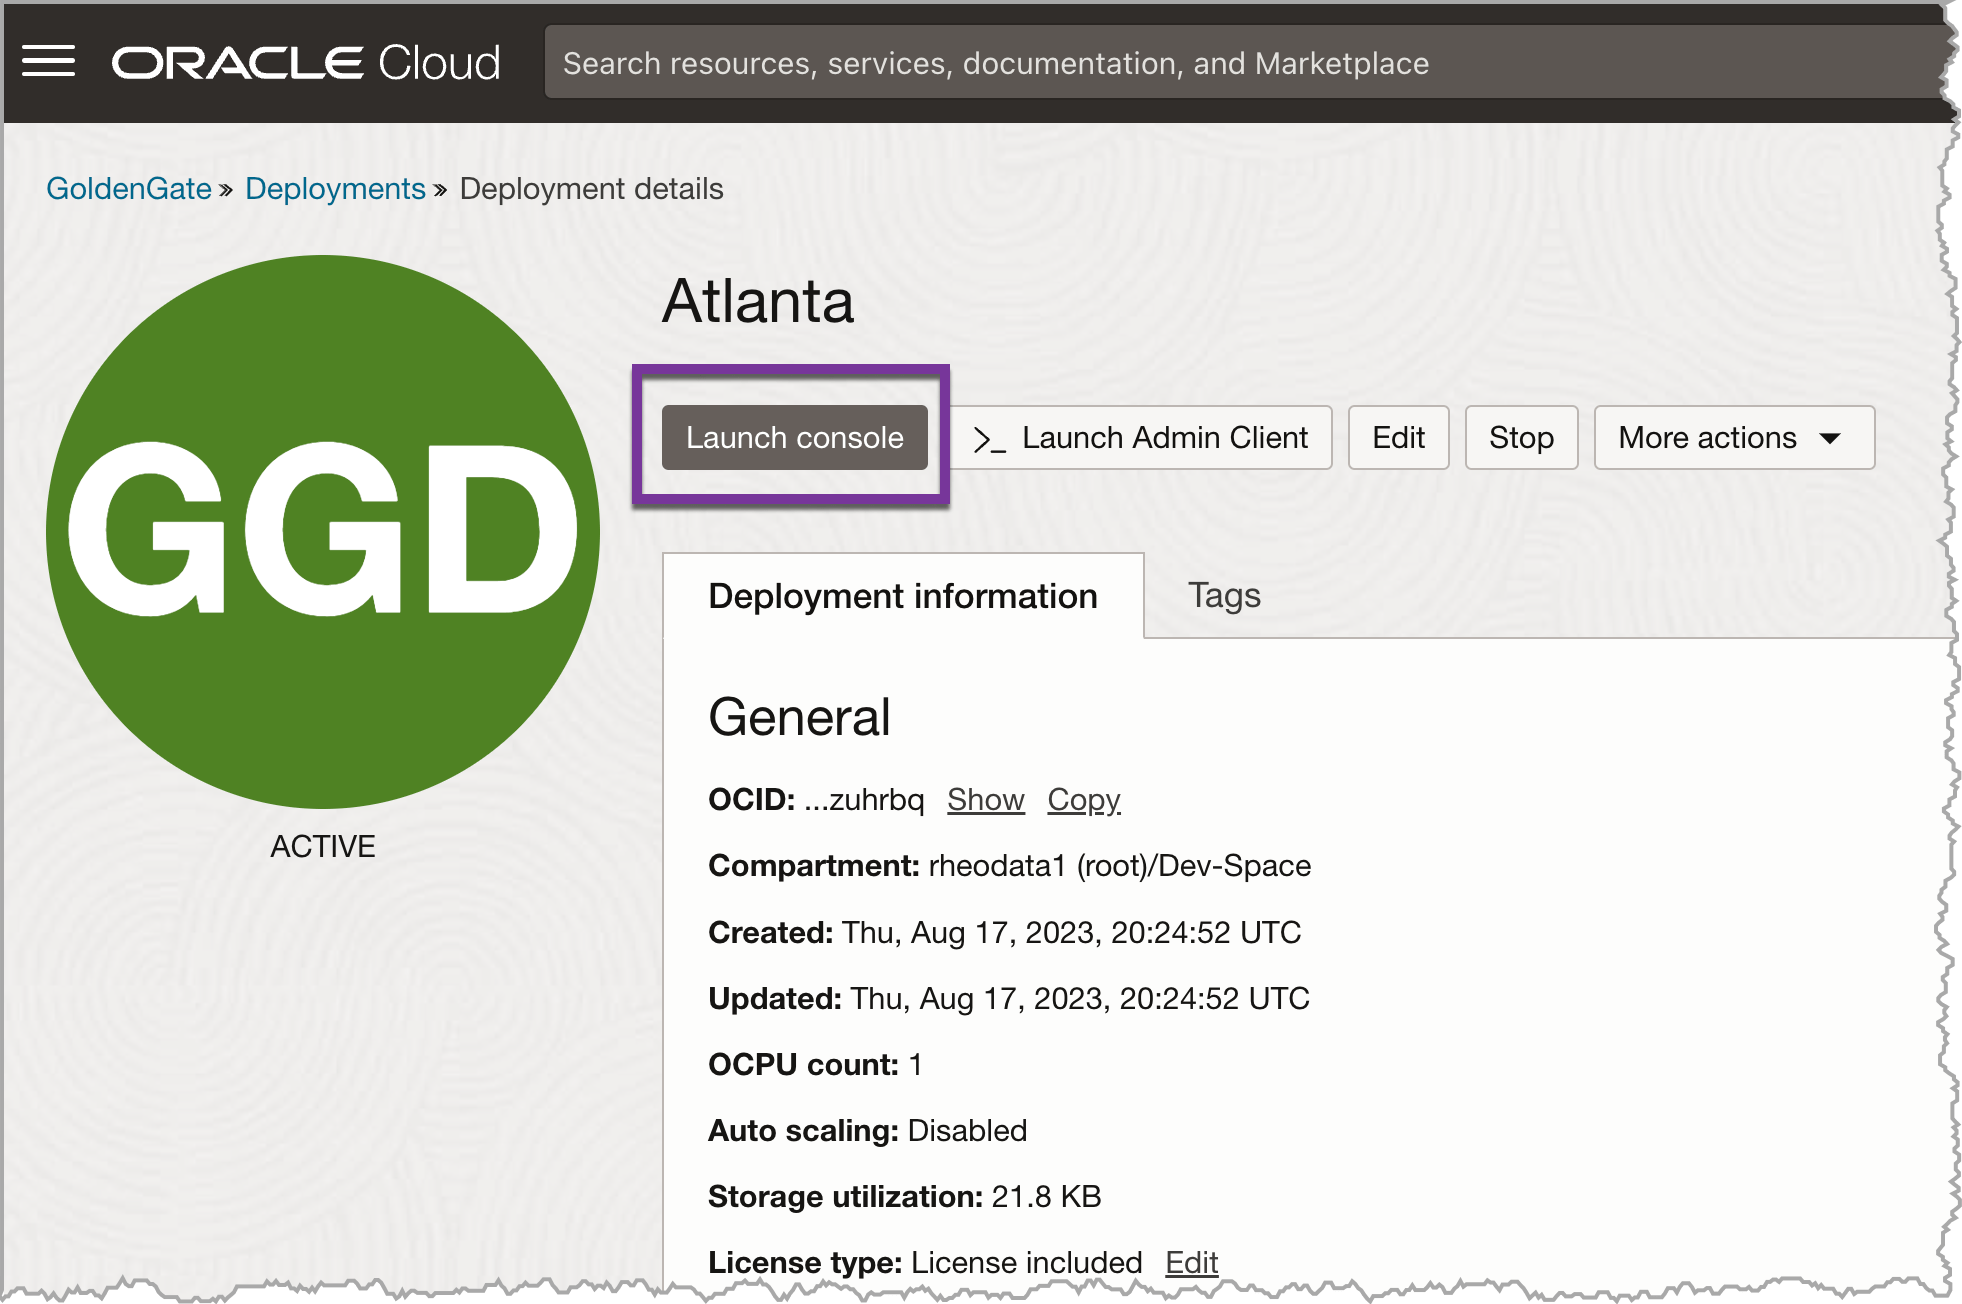
Once the deployment has been created, we can now access the Console (i.e. ServiceManager page) using the “Launch console” button.
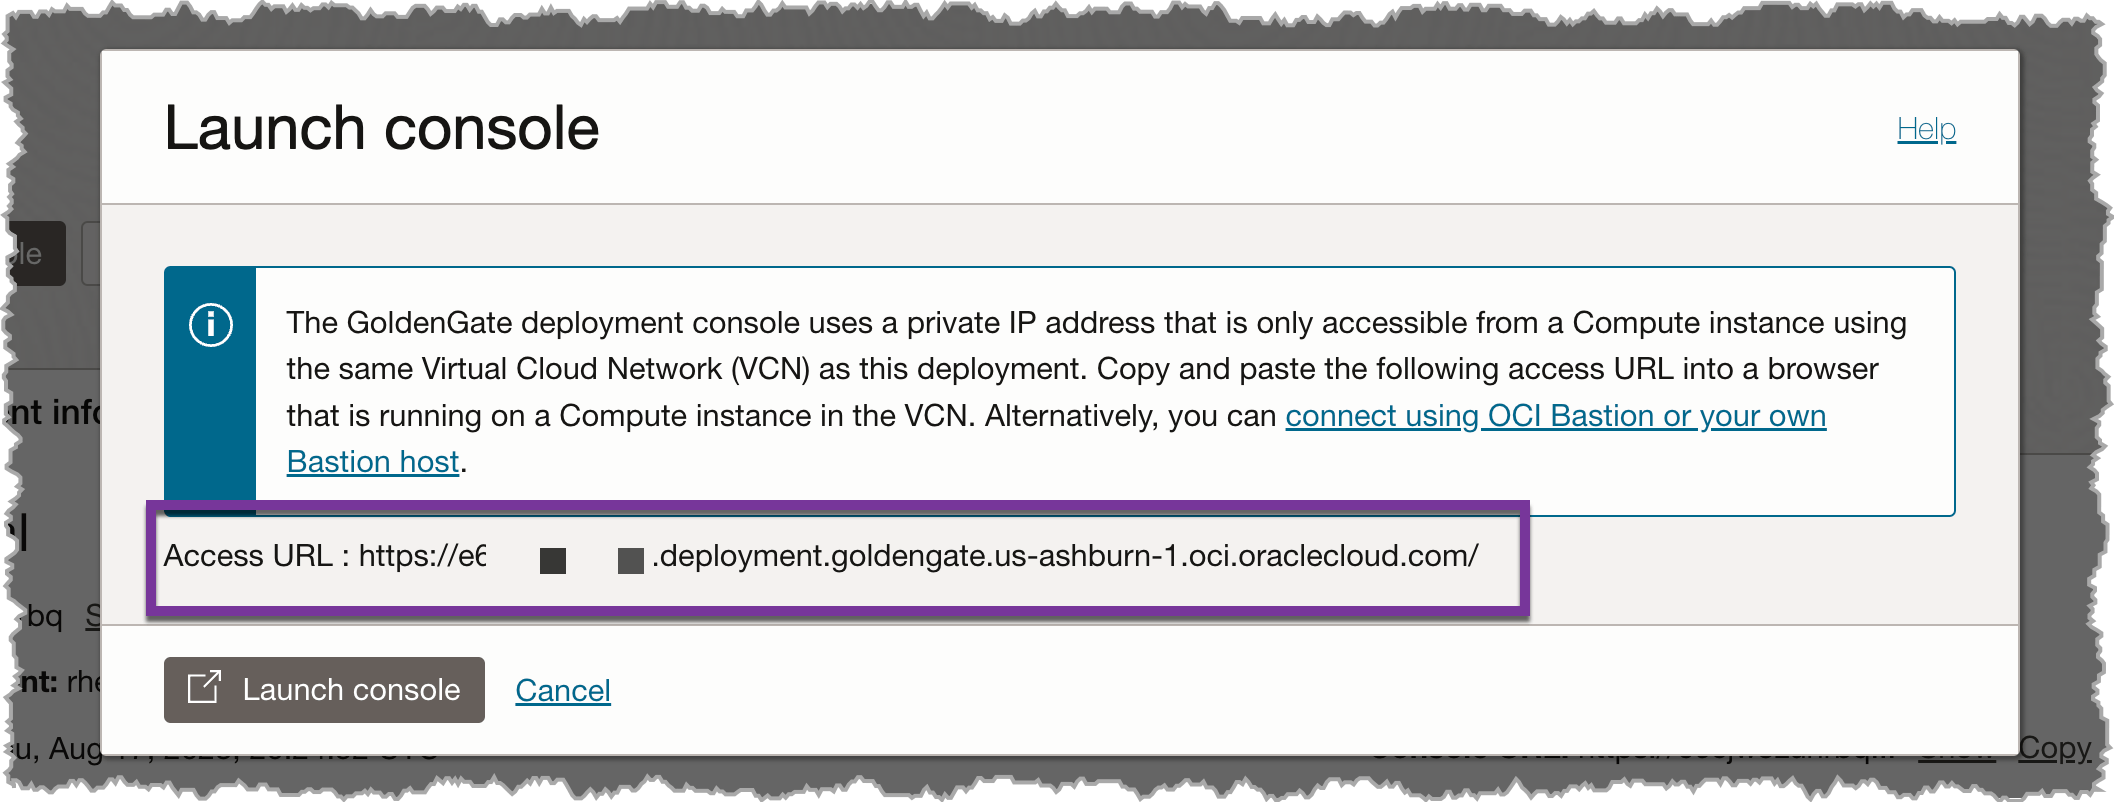
With clicking the “Launch deployment” button, we are provided with a extra dialog box that provides us a URL that can be used to go directly to the console in the future. Pay attention to the informational message that is displayed. It is reminding us that the HTML page of the console can only bee accessed from a compute instance using the VCN as this deployment. Meaning that we either have to have a compute instance on the same VCN, a VPN/FastConnect configured, or an OCI Bastion to connect to the web page.
Connecting to Console
Since we have to have a compute node on the same VCN to access the GGS Console, we will use one of our existing compute nodes. In this case, we will connect to the compute node using VNC.
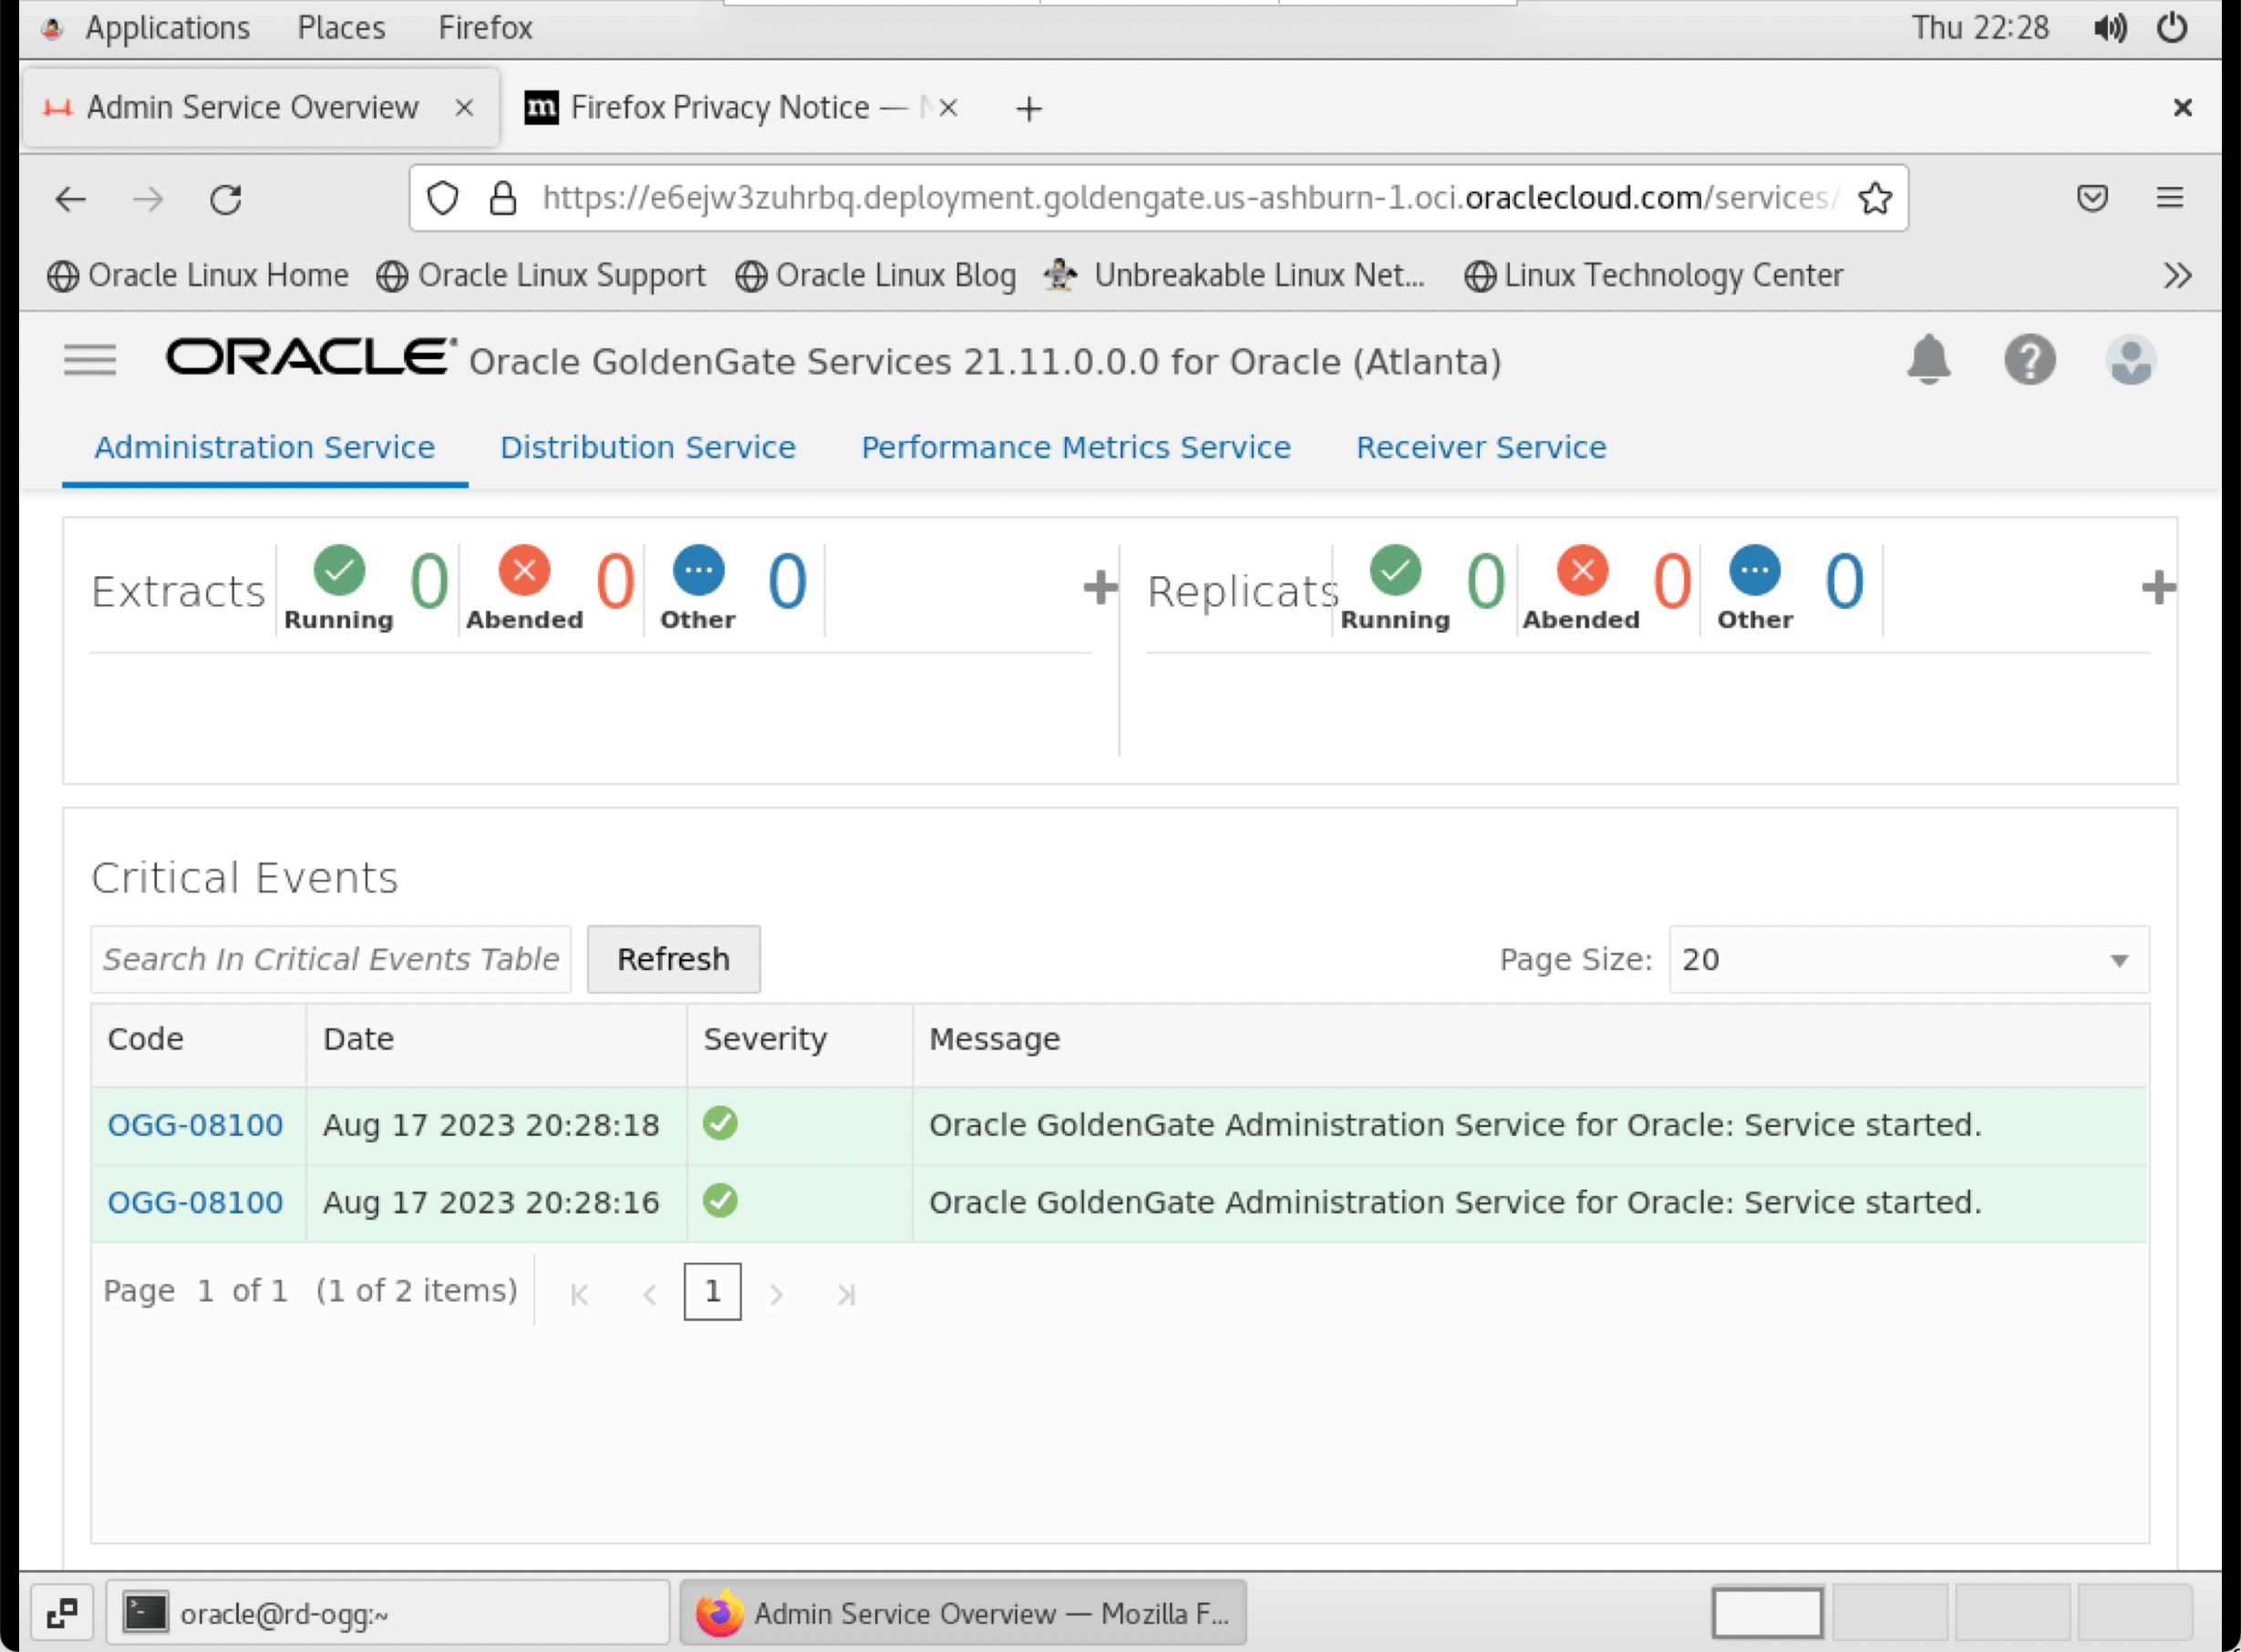
After connecting to a compute node, we opened Firefox and navigated to the URL provided.
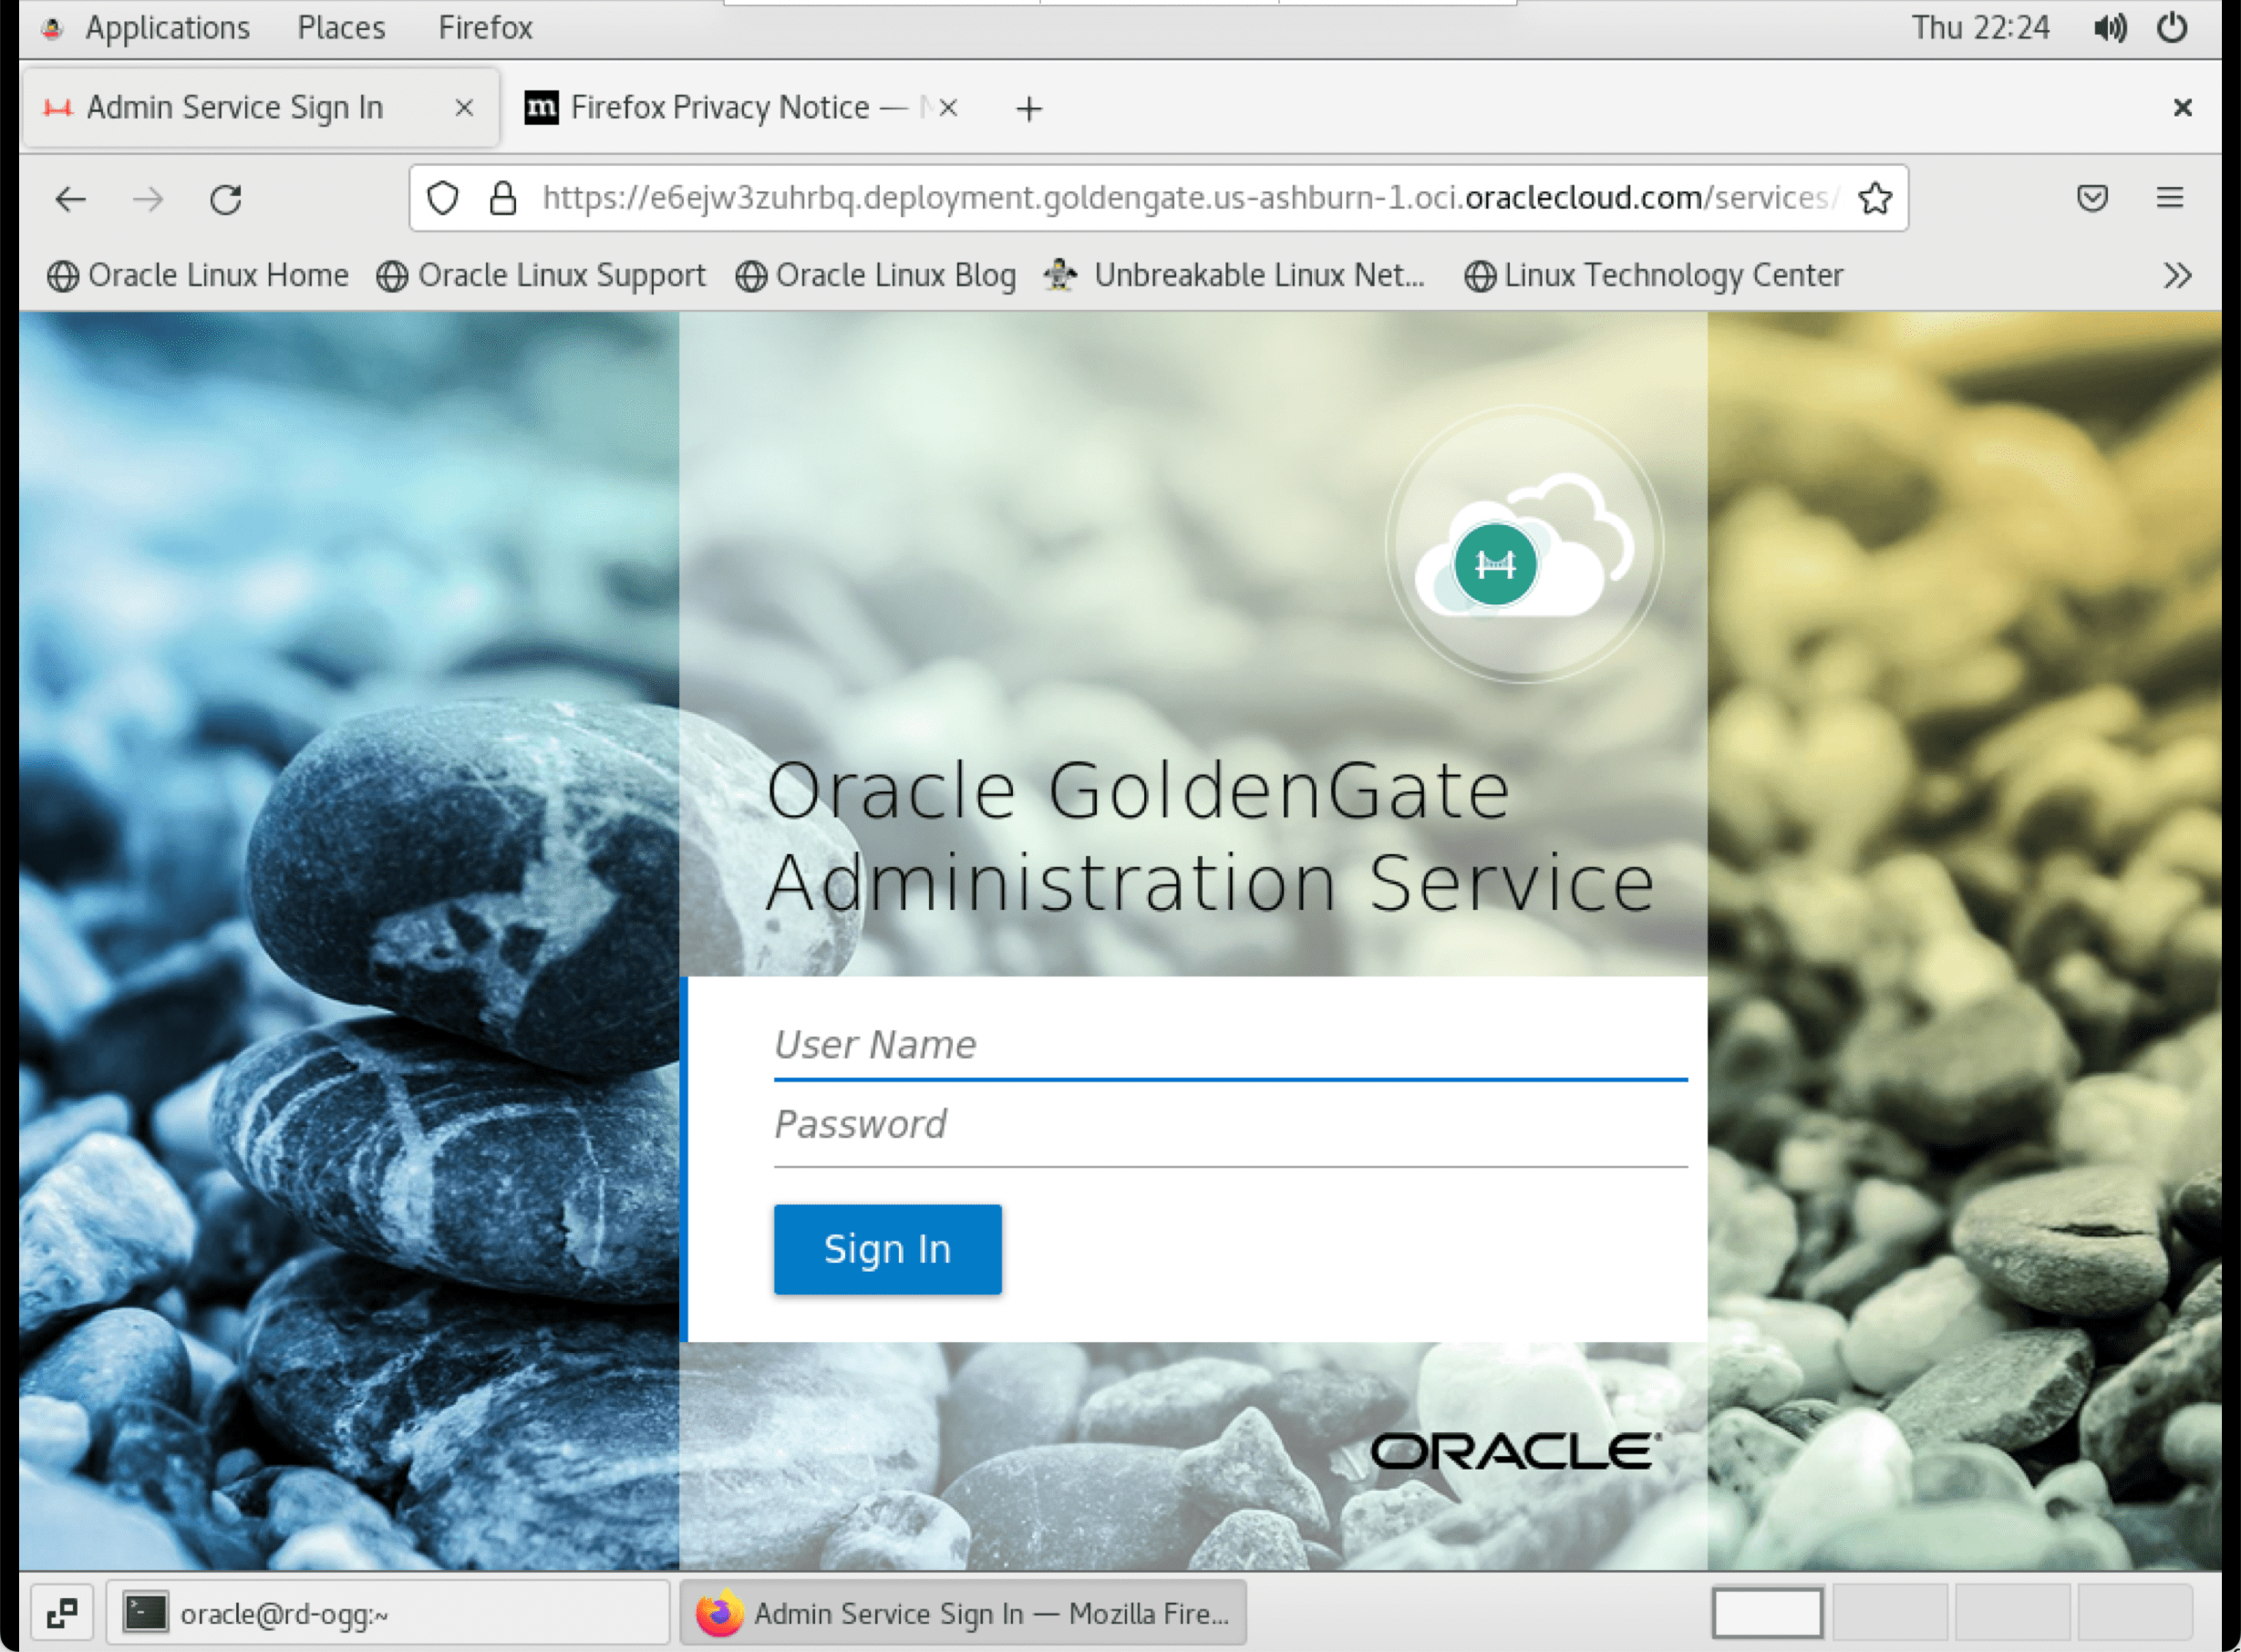
With the console page open, we will use the GGS admin username and password to access the console page.
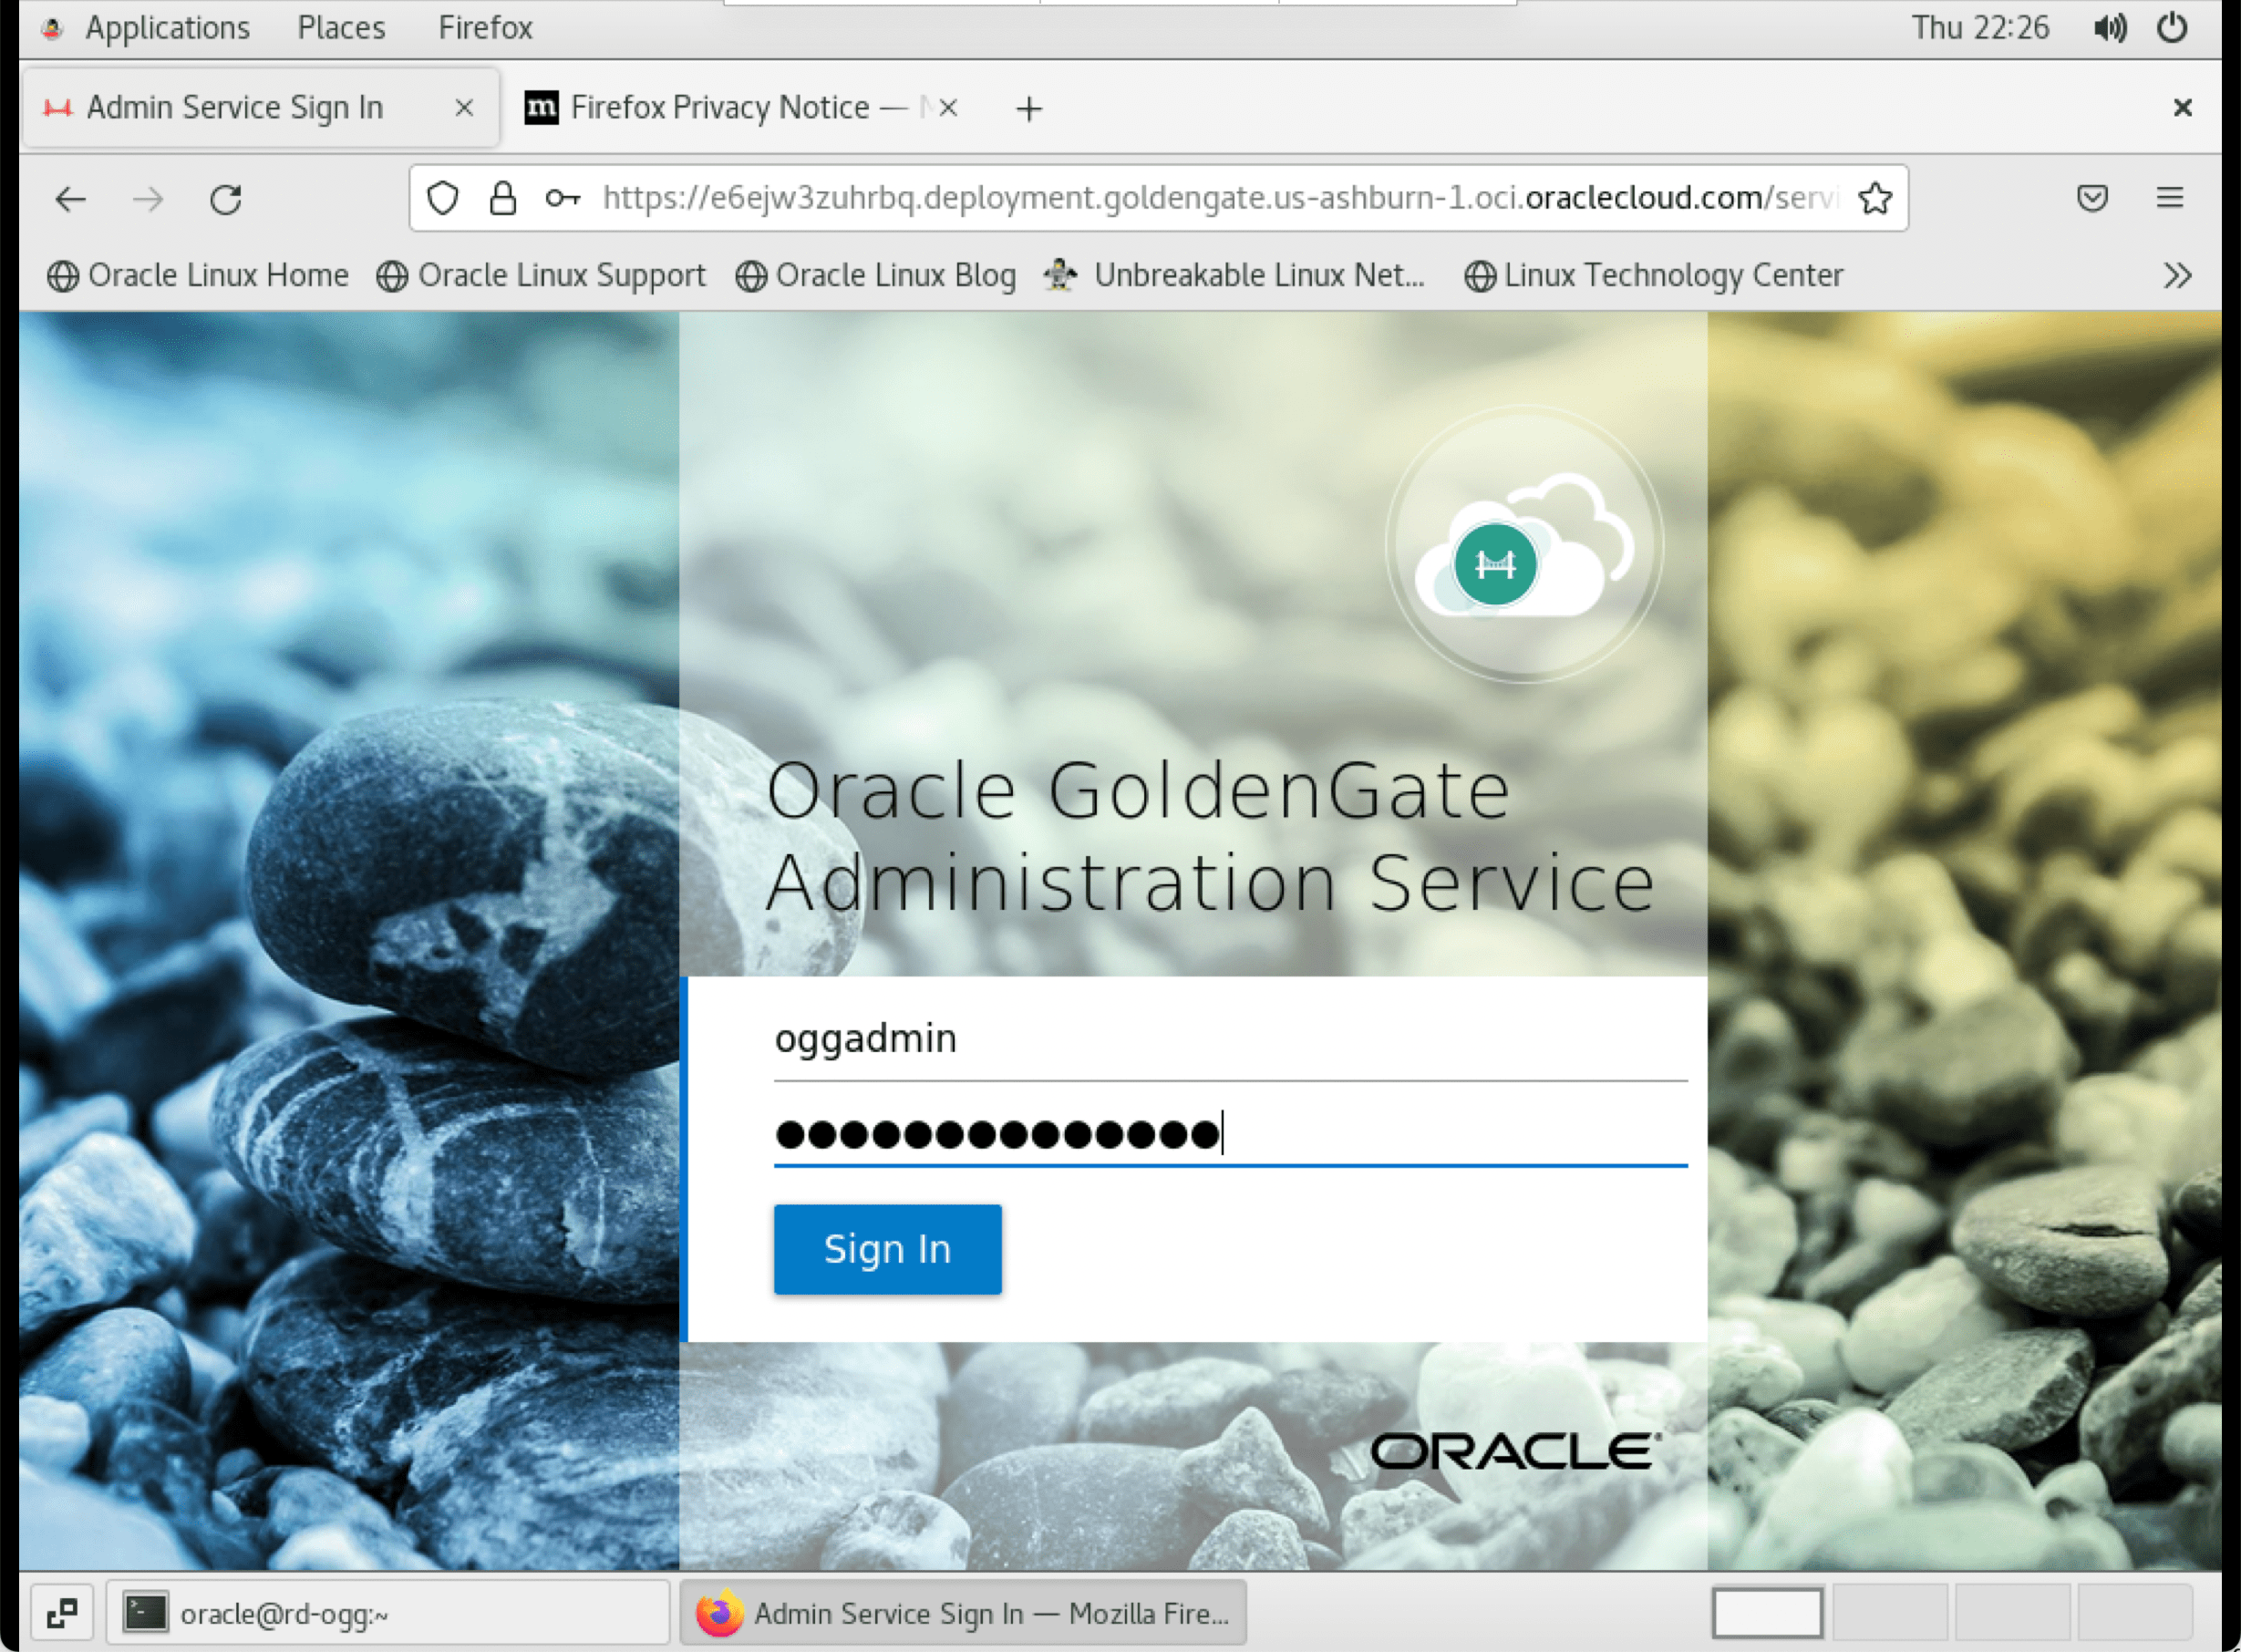
Upon clicking the “Sign In” button, we are taken to the Admin Service page.
