GoldenGate Service (GGS) – Connection Setup

Creating Connections
In Oracle GoldenGate (on-premises) we always have to setup a connection to the database. This is done by using the credential store to house the connection and then testing it. What happens when we move this concept to OCI and the GoldenGate Service (GGS)? The concept of the credential store is still there; however, in GGS it is listed under or considered a “Connection”.
Setup a Connection
The “Connection” can be setup from the main page of the GoldenGate Service (GGS). It is listed under the “GoldenGate” Sub-menu:
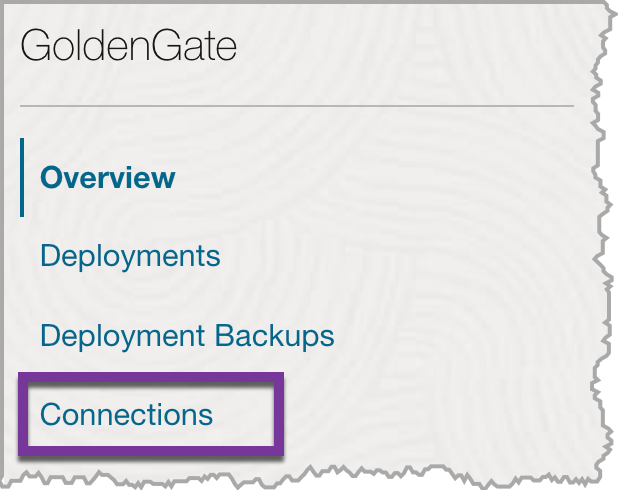
This will bring you to the “Connections” page. From here there is a “Create Connection” button.

By clicking on the “Create Connection” button, a dialog box opens up from the right-hand side of the screen. This is the details screen where we can provide general information and connection details for making the connection to a database.
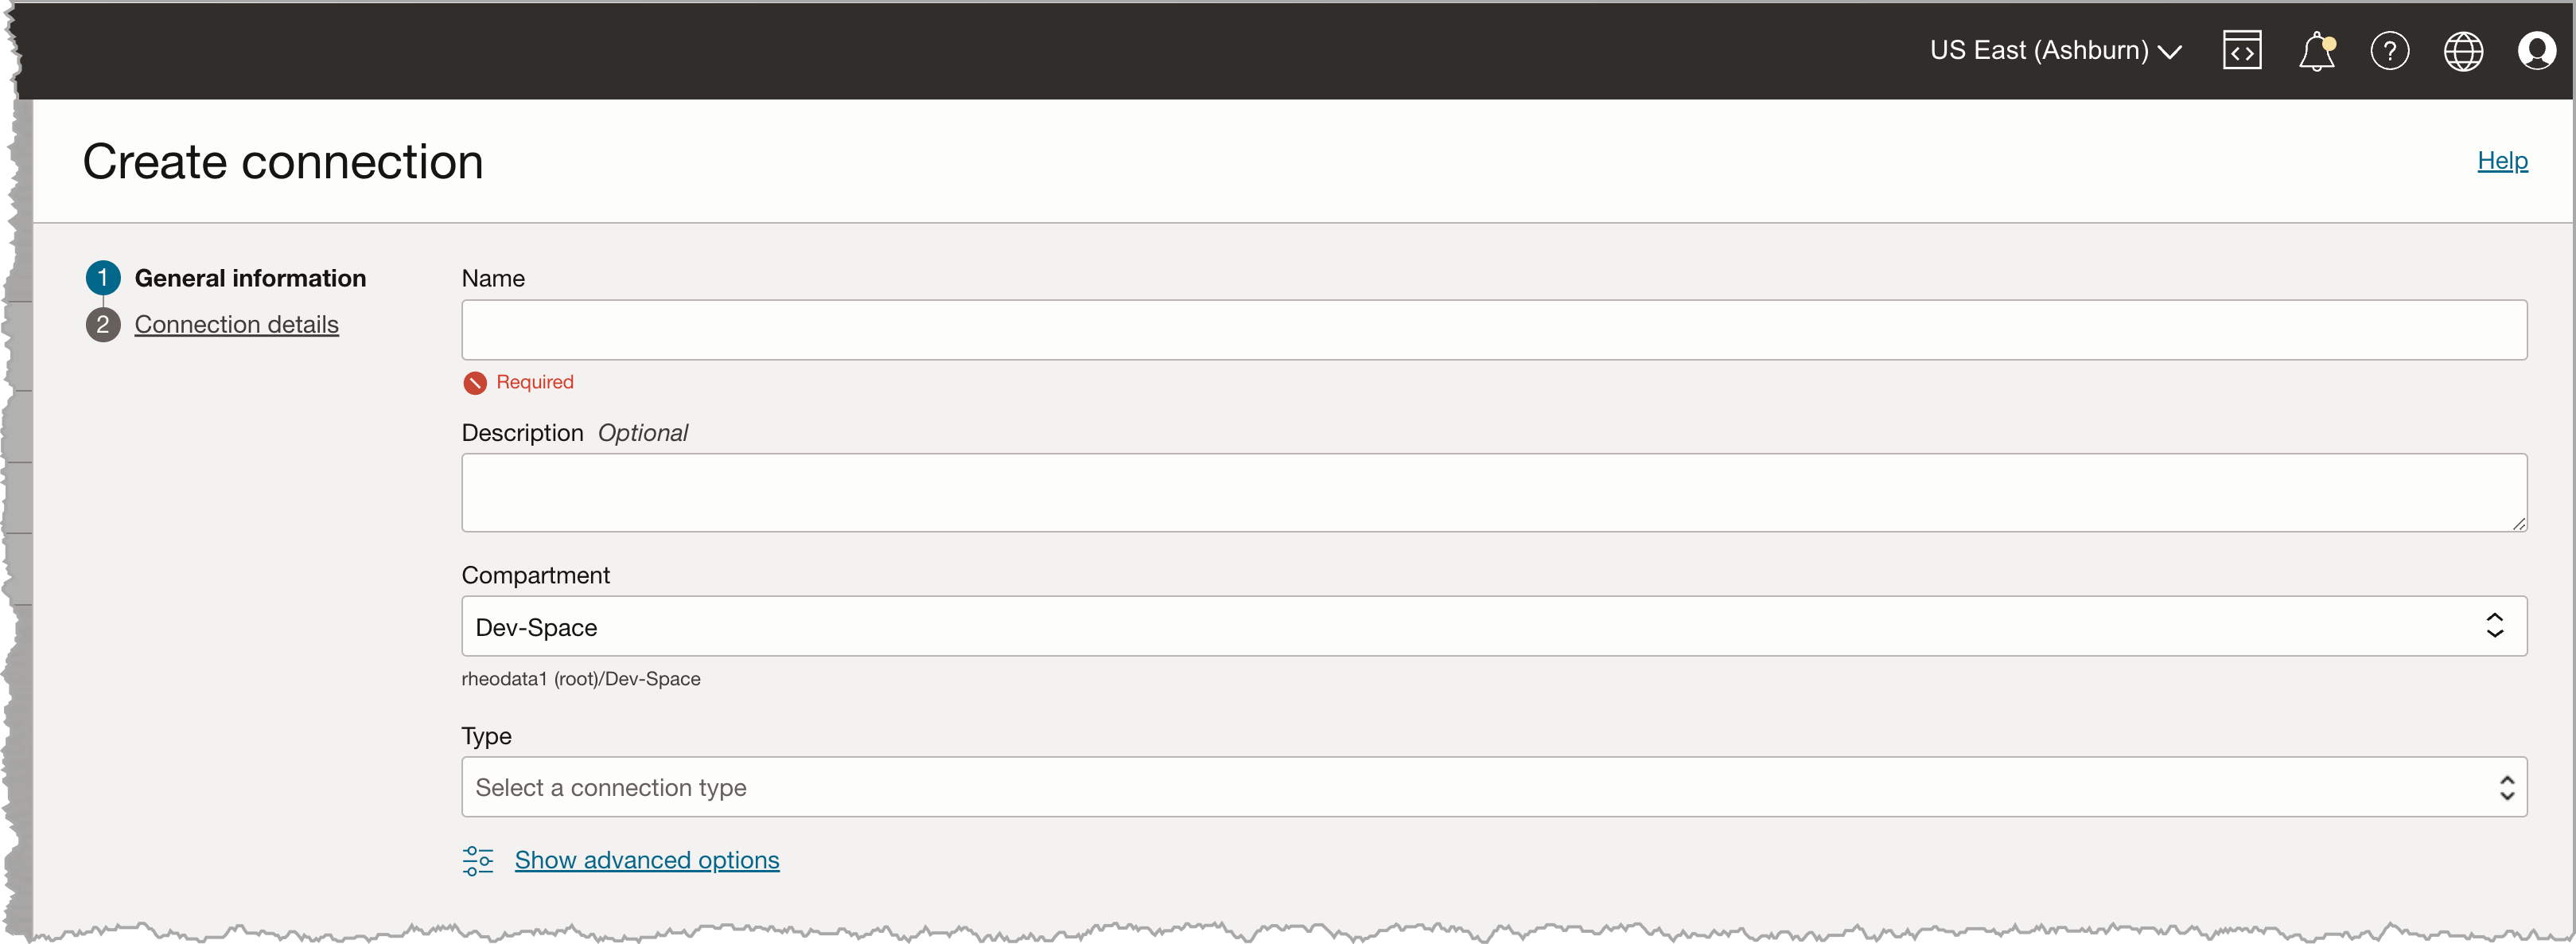
In the dialog box, provide the general details and select the type of data source that the connection is used for. In this case, we will be connecting to an Oracle Database for this connection.
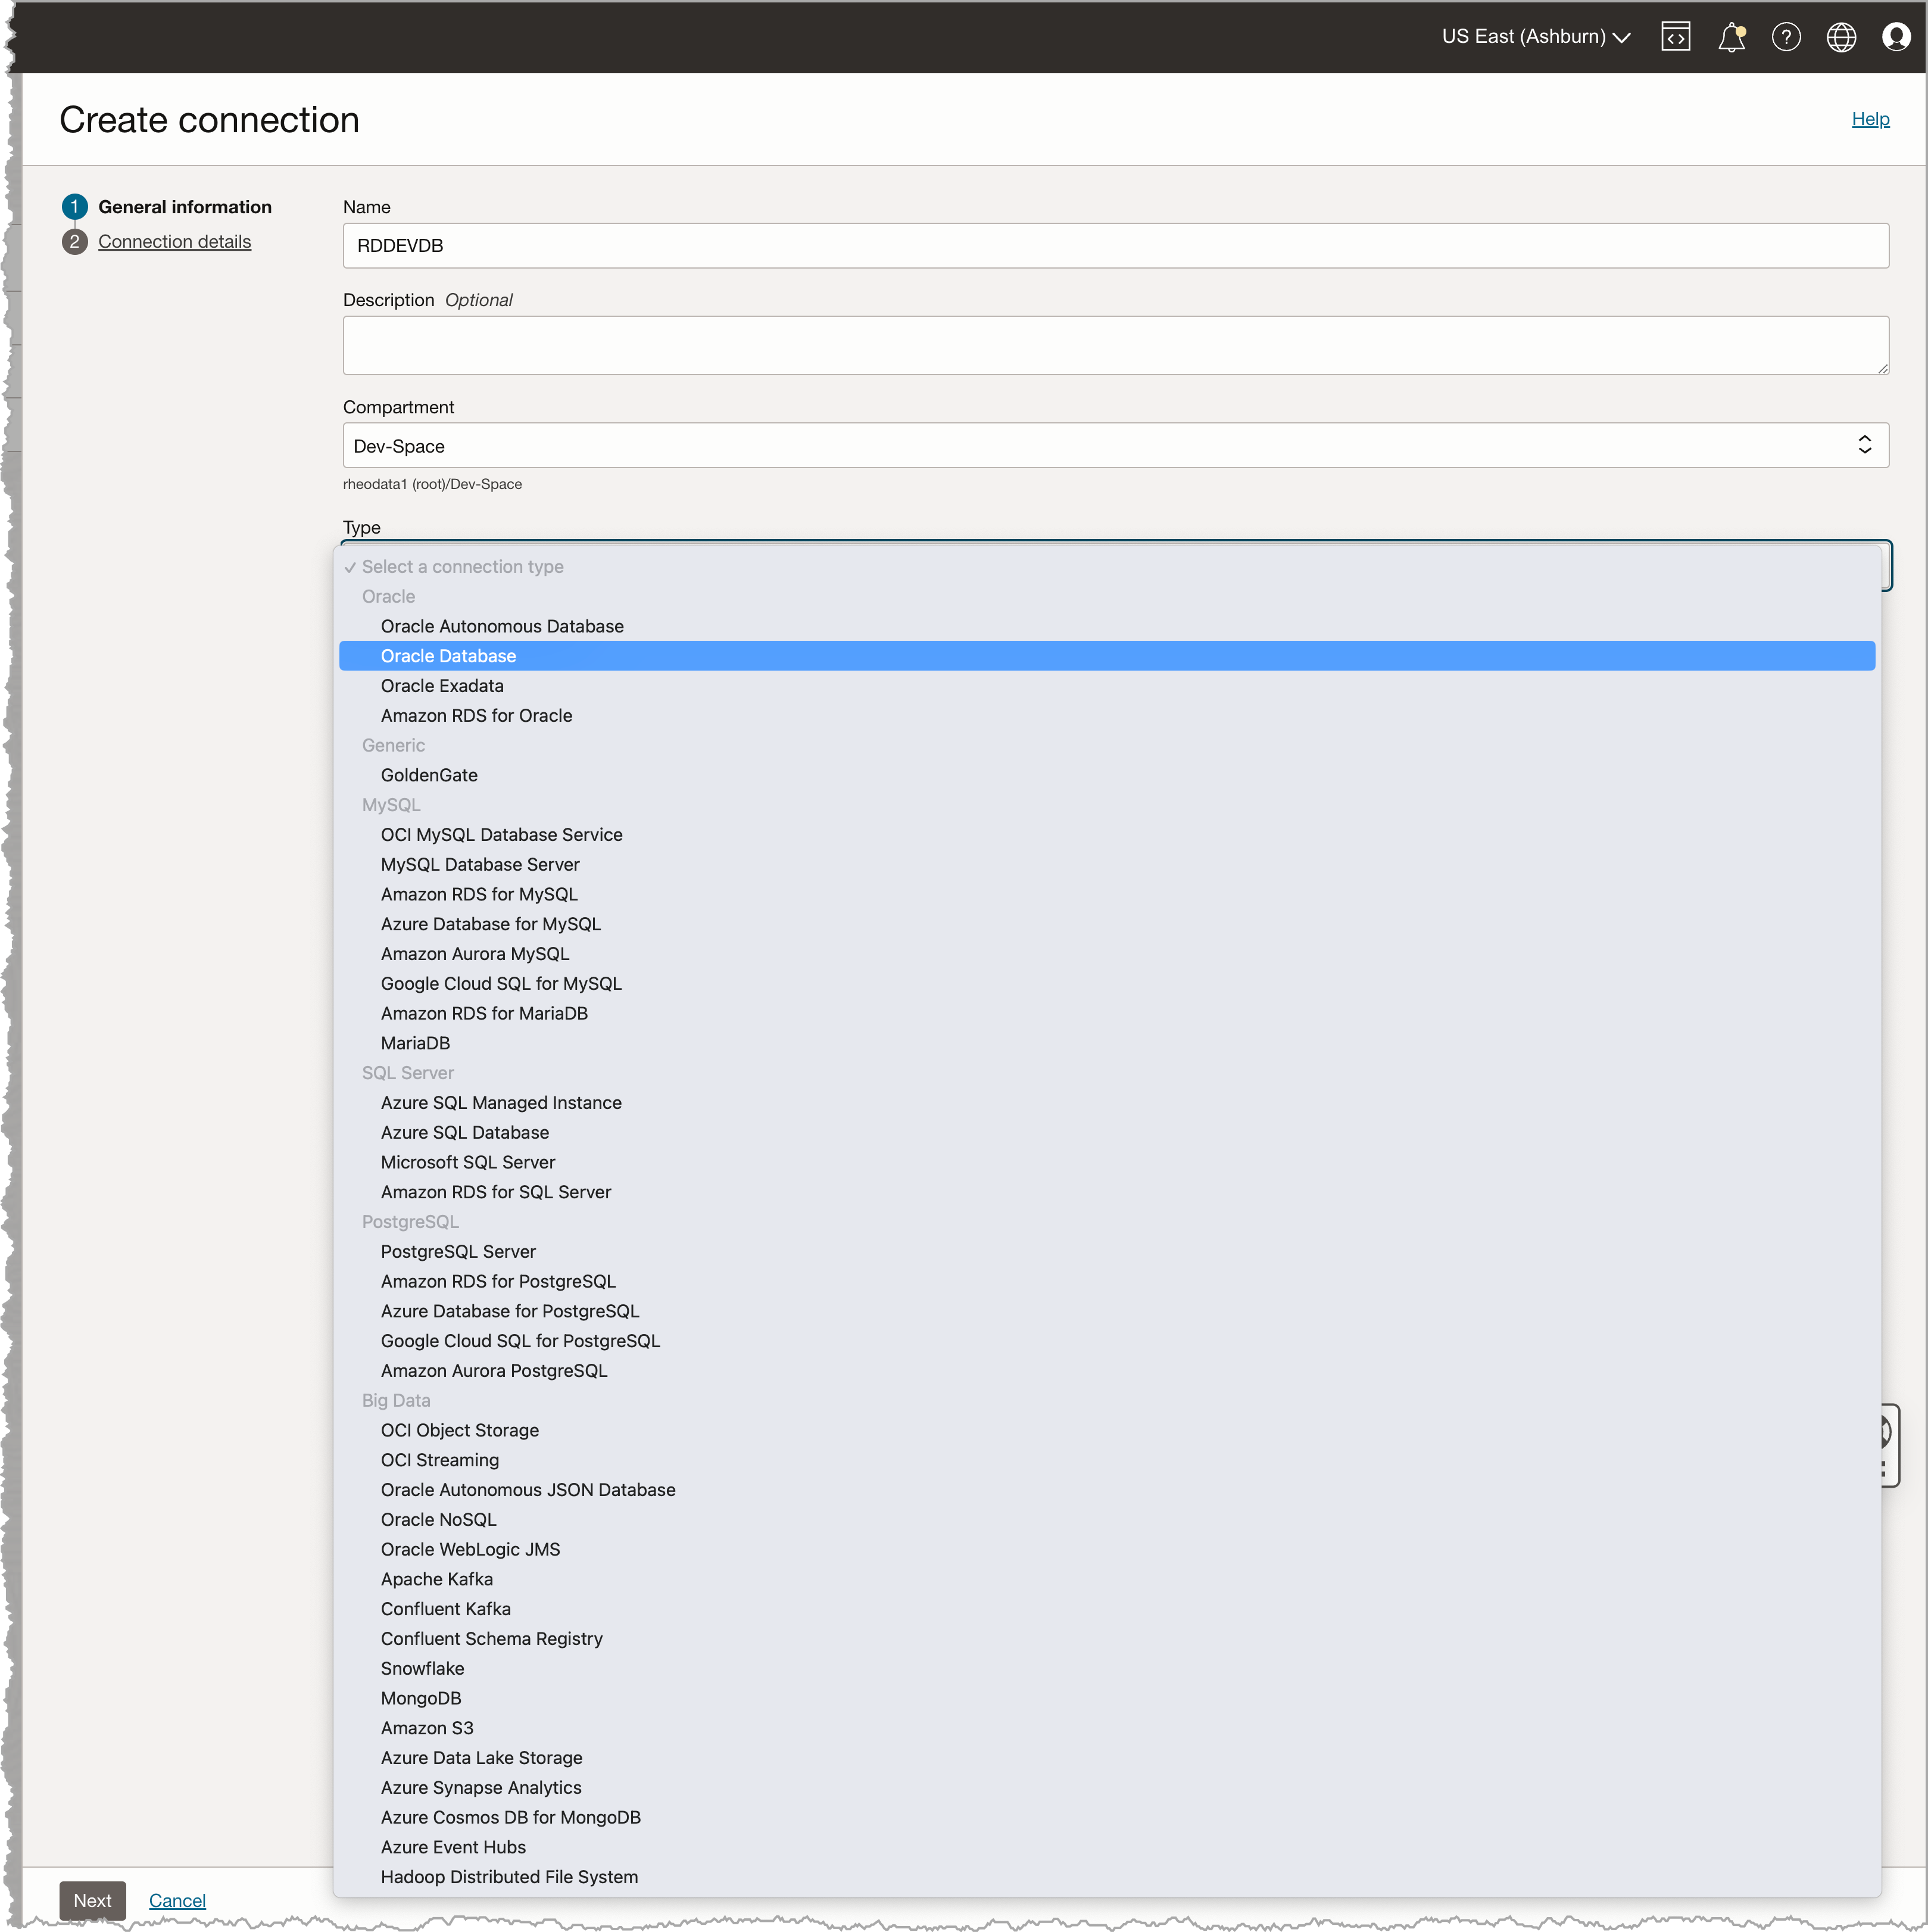
With selecting an Oracle Database and clicking the Next button, we are taken over to “Connection Details”. On this screen, we are presented with two radio buttons that allow us to determine how to connect to an Oracle Database. If we select the “Select database” option, we can select a database that is running in OCI. Or we can select “Enter Database Information”, this option we have to know exactly how we want to connect to the database – think of using a TNSName entry in this case. To simplify this approach and since we are OCI based, we are going to “Select database” option.
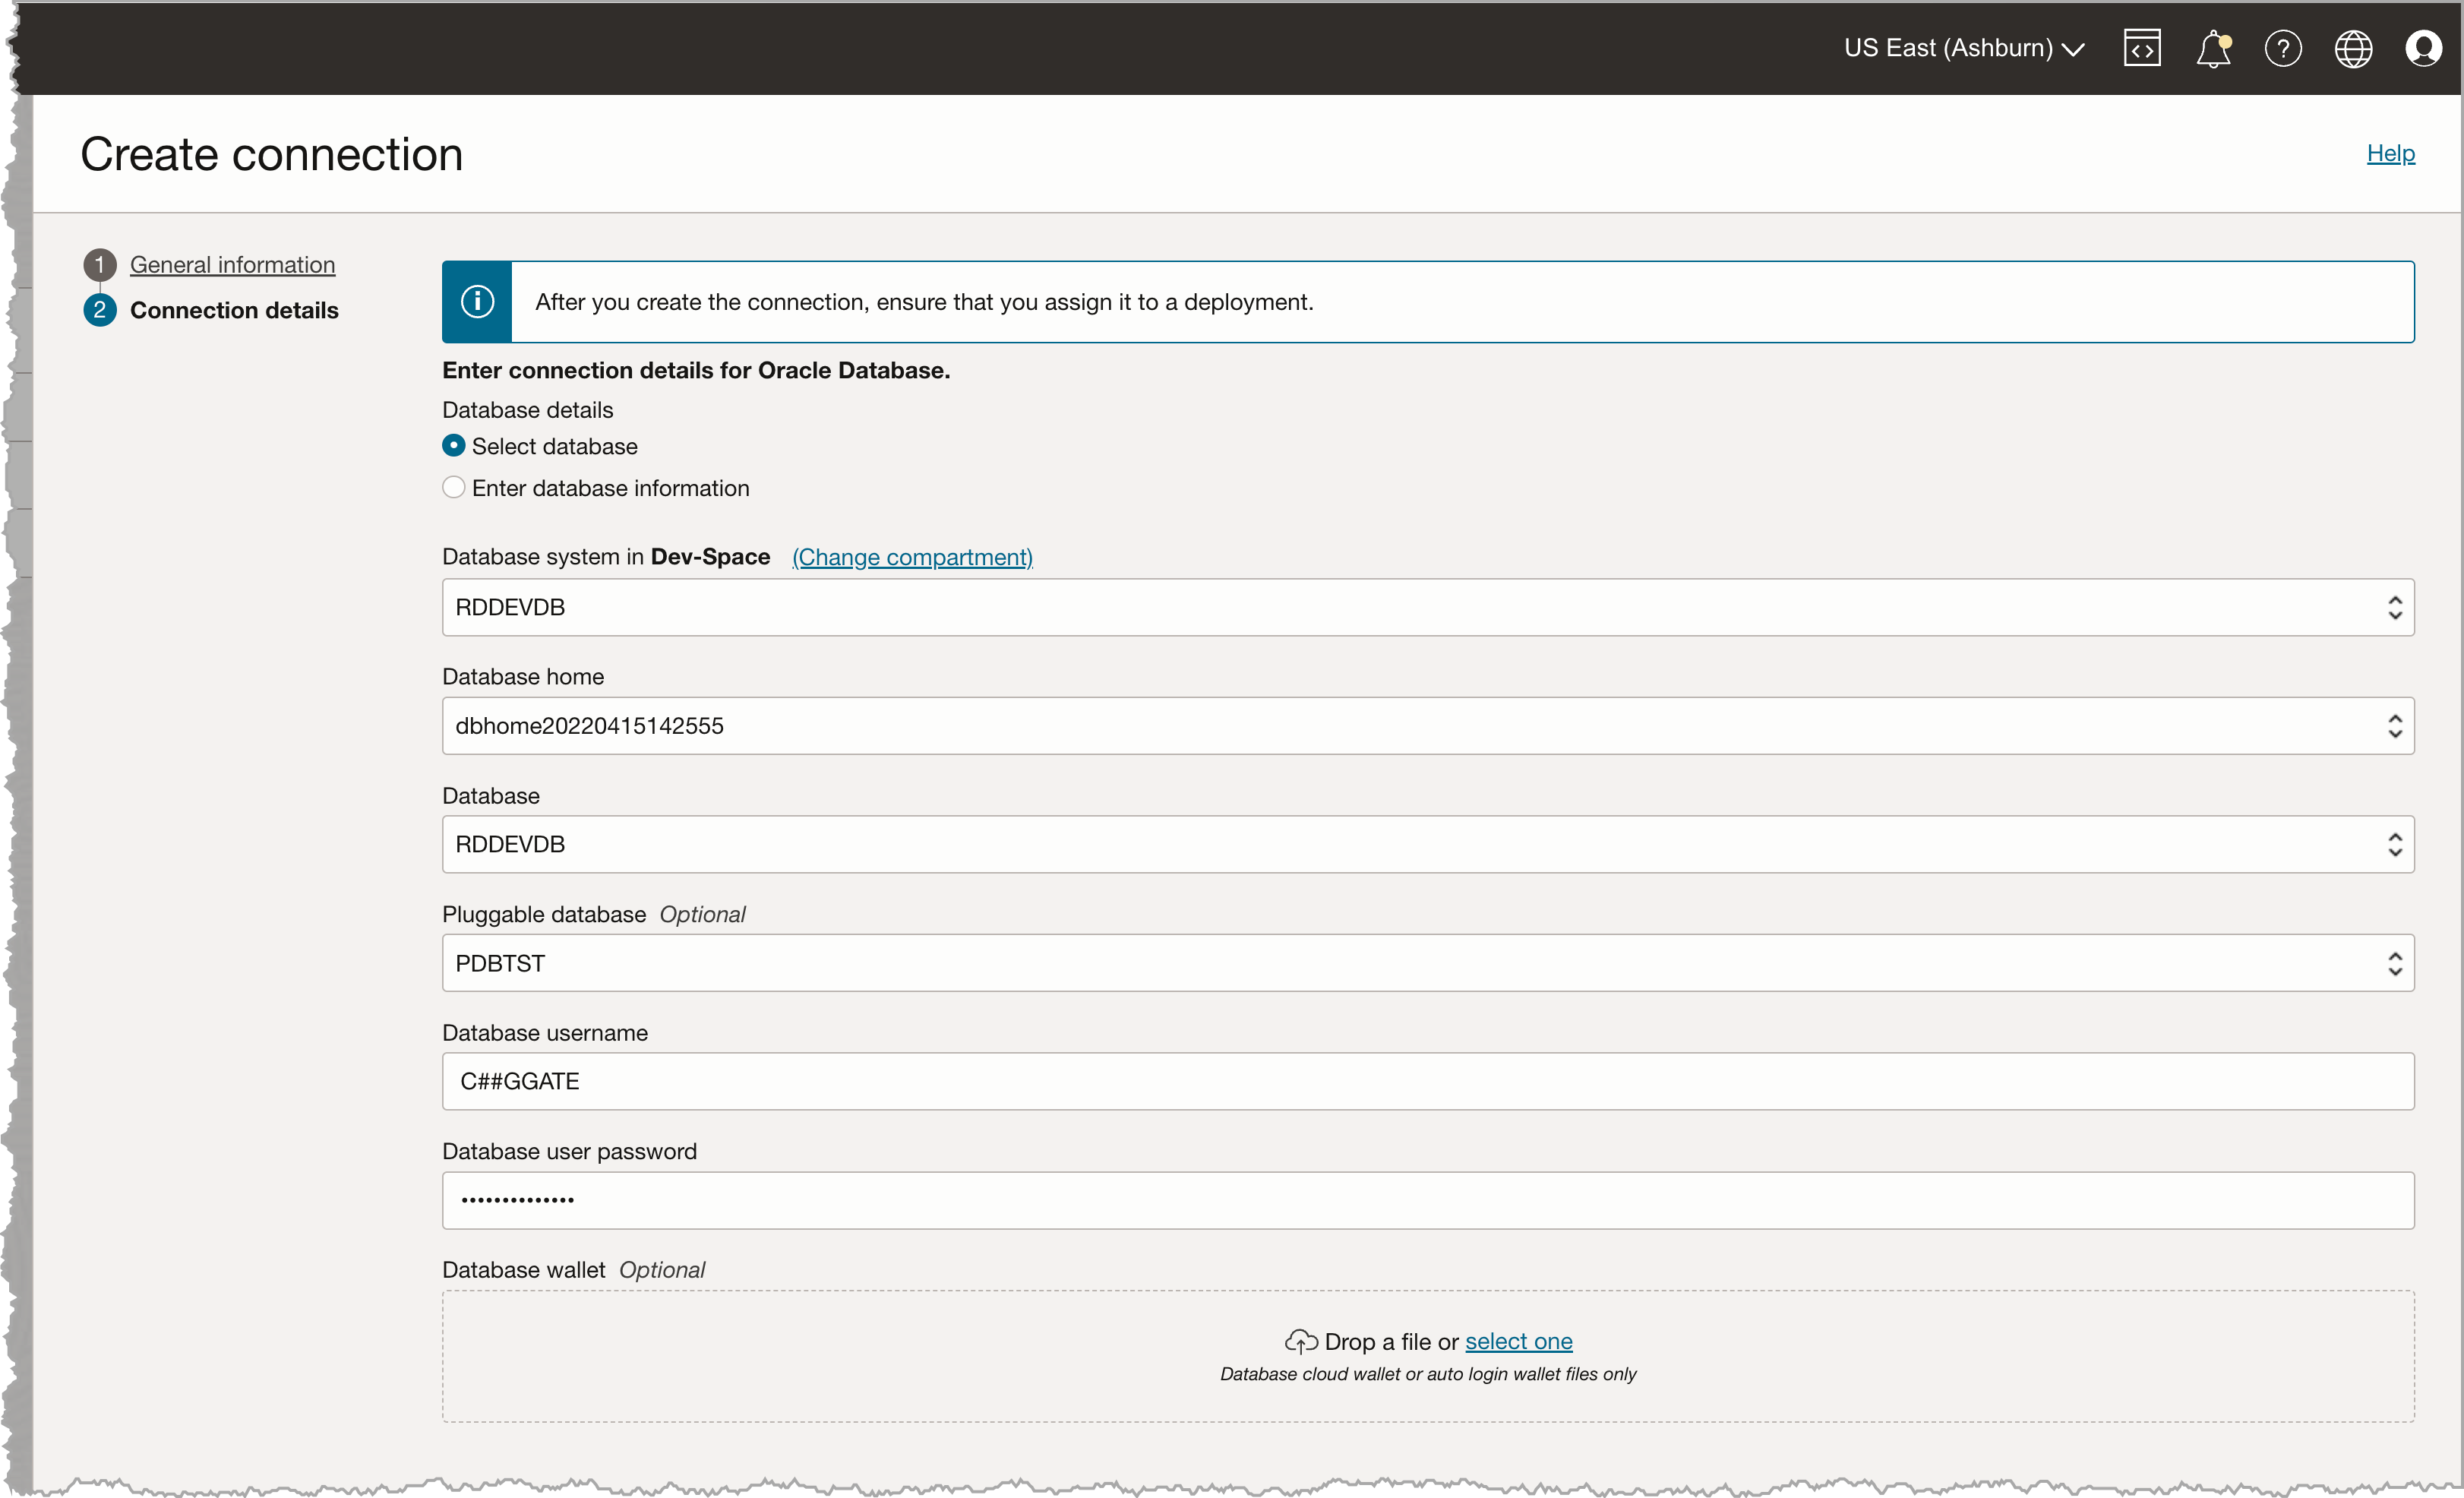
Notice that connection details are populated for us. All we needed to provide is the database user that we want to connect to. In this case, we are using a “common user” of C##GGATE (above). After which we can click “create”.
After clicking “Create”, notice that we are taken to the “Connections Detail” screen. This screen is setting up the connection.

Adding Deployment
After the connection is created, we can then assign the connection to a “Deployment”. This is done by using the “Assign Deployment” button that is on the Connections page.
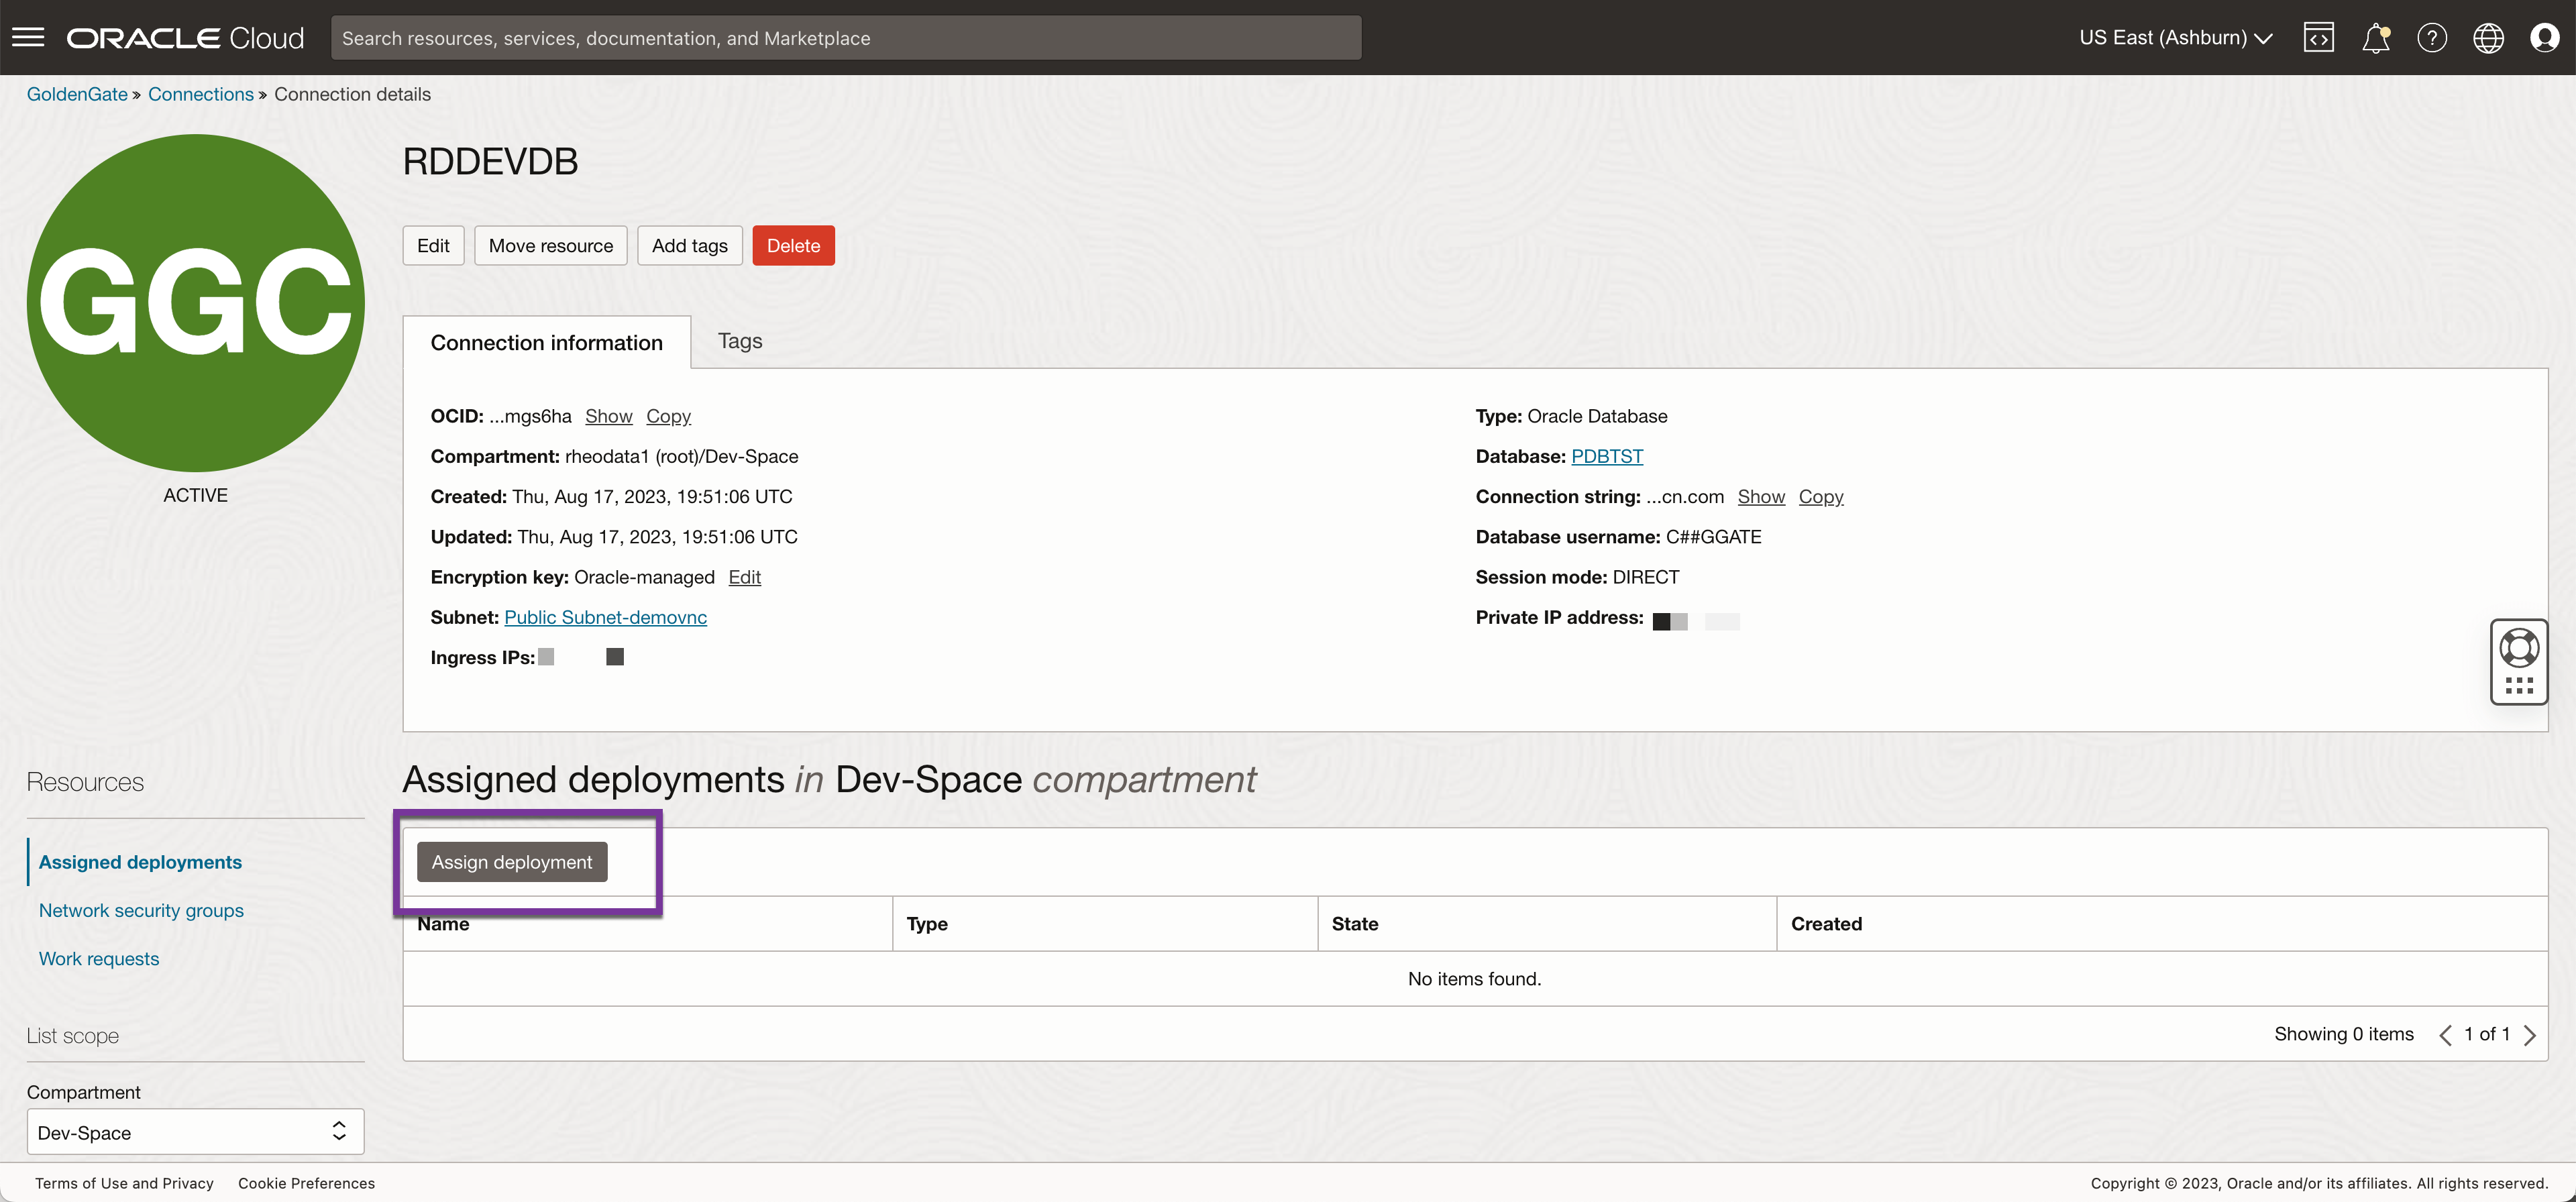
.By clicking the “Assign Deployment” button, you will be presented with a dialog that comes up in the middle of the page. This dialog box will allow you to select the GGS deployment that the connection is to be assigned to. In this case, we only have one deployment – Atlanta.

Testing Connection
With the deployment assigned, we can now test the connection. This is done by using the elipsis at the end of the table and selecting “Test Connection”. If everything is correct, i.e password, for the user, a successful connection should be established.

A successful connection will look like this:


