Oracle Vector Datatype – Updating table data

In my last blog post on Oracle’s Vector data type, I simply showed you how the datatype is used within an Oracle table. In this blog post, we are going to dive a bit deeper and provide some context with it regardiing to updating a table with existing data.
To start, we are going to look at an external table that provides data on video games. This external table is only going to be used to pull in the data we want to us. The outline of the external table is:
drop table vector.video_games;

create table vector.video_games
(
"Title" VARCHAR2(50),
"Features.Handheld?" VARCHAR2(50),
"Features.Max Players" NUMBER,
"Features.Multiplatform?" VARCHAR2(50),
"Features.Online?" VARCHAR2(15),
"Metadata.Genres" VARCHAR2(50),
"Metadata.Licensed?" VARCHAR2(15),
"Metadata.Publishers" VARCHAR2(50),
"Metadata.Sequel?" VARCHAR2(15),
"Metrics.Review Score" NUMBER,
"Metrics.Sales" NUMBER,
"Metrics.Used Price" NUMBER,
"Release.Console" VARCHAR2(50),
"Release.Rating" VARCHAR2(5),
"Release.Re-release?" VARCHAR2(15),
"Release.Year" NUMBER,
"Length.All PlayStyles.Average" NUMBER,
"Length.All PlayStyles.Leisure" NUMBER,
"Length.All PlayStyles.Median" NUMBER,
"Length.All PlayStyles.Polled" NUMBER,
"Length.All PlayStyles.Rushed" NUMBER,
"Length.Completionists.Average" NUMBER,
"Length.Completionists.Leisure" NUMBER,
"Length.Completionists.Median" NUMBER,
"Length.Completionists.Polled" NUMBER,
"Length.Completionists.Rushed" NUMBER,
"Length.Main + Extras.Average" NUMBER,
"Length.Main + Extras.Leisure" NUMBER,
"Length.Main + Extras.Median" NUMBER,
"Length.Main + Extras.Polled" NUMBER,
"Length.Main + Extras.Rushed" NUMBER,
"Length.Main Story.Average" NUMBER,
"Length.Main Story.Leisure" NUMBER,
"Length.Main Story.Median" NUMBER,
"Length.Main Story.Polled" NUMBER,
"Length.Main Story.Rushed” NUMBER
)
ORGANIZATION EXTERNAL
(
  default directory dir_temp
  ACCESS PARAMETERS (
    RECORDS DELIMITED BY NEWLINE
    FIELDS TERMINATED BY ‘,'
    OPTIONALLY ENCLOSED BY ‘"'
    )
  LOCATION ('video_games.csv’)
)
reject limit unlimited;
As you can see, there are a lot data points that we can use. To make this a bit simpler, we are only going to use the first 16 columns. This means we need to create a standard heap table that reference these columns.
create table vector.video_games_vec
(
    title VARCHAR2(50),
    handheld VARCHAR2(50),
    maxplayers NUMBER,
    multiplatform VARCHAR2(50),
    availiableonline VARCHAR2(15),
    genres VARCHAR2(50),
    license VARCHAR2(15),
    publishers VARCHAR2(50),
    sequel VARCHAR2(15),
    reviewscore NUMBER,
    usedprice NUMBER,
    sales NUMBER,
    console VARCHAR2(50),
    rating VARCHAR2(5),
    rerelease VARCHAR2(15),
    rereleaseyear NUMBER
);
Notice the difference in table names. The standard heap table has an ending of “vec” compared to the external table. This is to keep our processes separate. At the same time, after we insert data into the heap table, we are only going to use the heap table.
Insert data into heap table (vector.video_games_vec) based on the data in the external table (vector.video_games).
insert into vector.video_games_vec;
select
"Title”,
"Features.Handheld?”,
"Features.Max Players”,
"Features.Multiplatform?”,
"Features.Online?”,
"Metadata.Genres”,
"Metadata.Licensed?”,
"Metadata.Publishers",
"Metadata.Sequel?”,
"Metrics.Review Score”,
"Metrics.Sales”,
"Metrics.Used Price”,
"Release.Console”,
"Release.Rating”,
"Release.Re-release?”,
“Release.Year"
from vector.video_games;
In table vector.video_games_vec, we should now have a bit more than 1200 records.
select count(*) from vector.video_games_vec;
Returns 1209
Now we have a data set to work with. We are going to leave the external table (vector.video_games) in place for additional tests later.
Add a vector column
In order to use the vector.video_games table for semantic searches, we need to add a column for a vector. Since we do not know the number dimensions for the vectors or the formatting, lets assume that all data will be of any format with an unlimited dimensions.
Our alter table command then looks like this:
SQL> alter table vector.video_games_vec add (vg_vec VECTOR(*,*));
If we do a describe on the table, we will see the vector:
Name             Null? Type
---------------- ----- ------------
ID		  NOT NULL NUMBER(38)
TITLE                  VARCHAR2(50)
HANDHELD               VARCHAR2(50)
MAXPLAYERS             NUMBER
MULTIPLATFORM          VARCHAR2(50)
AVAILIABLEONLINE       VARCHAR2(15)
GENRES                 VARCHAR2(50)
LICENSE                VARCHAR2(15)
PUBLISHERS             VARCHAR2(50)
SEQUEL                 VARCHAR2(15)
REVIEWSCORE            NUMBER
USEDPRICE              NUMBER
SALES                  NUMBER
CONSOLE                VARCHAR2(50)
RATING                 VARCHAR2(5)
RERELEASE              VARCHAR2(15)
RERELEASEYEAR          NUMBER
VG_VEC                 VECTOR
However, it doesn’t tell us size of the vector. This is limitation in the VSCode interface we are using. If we go to a command prompt, we can run the same commands and see the size of the vector.
SQL> desc vector.video_games_vec;


Name					   Null?    Type
------------------------------ -------- ——————————————
ID			NOT NULL	    NUMBER(38)
TITLE			  	            VARCHAR2(50)
HANDHELD			            VARCHAR2(50)
MAXPLAYERS			            NUMBER
MULTIPLATFORM			            VARCHAR2(50)
AVAILIABLEONLINE		            VARCHAR2(15)
GENRES 					    VARCHAR2(50)
LICENSE					    VARCHAR2(15)
PUBLISHERS			            VARCHAR2(50)
SEQUEL 					    VARCHAR2(15)
REVIEWSCORE			            NUMBER
USEDPRICE			            NUMBER
SALES				            NUMBER
CONSOLE					    VARCHAR2(50)
RATING 					    VARCHAR2(5)
RERELEASE			            VARCHAR2(15)
RERELEASEYEAR				    NUMBER
VG_VEC 					    VECTOR(*,*)
When we query the vector.video_games_vec and look for the vector, we will see that no vector information is available.
SQL> set linesize 150;
SQL> select title, vg_vec from vector.video_games_vec where rownum <=5;


       ID TITLE                                              VG_VEC
---------- -------------------------------------------------- ————————————————————————————————————————
133 Battles of Prince of Persia
134 GripShift
135 Marvel Nemesis: Rise of the Imperfects
136 Scooby-Doo! Unmasked
137 Viewtiful Joe: Double Trouble!
At this point, we need a way to update the column with vector embeddings. One approach is that we can create our own vectors, but we will not be doing that in this post. Instead, we are going to use Python and make a call to a Large Language Model (LLM) like Cohere or ChatGPT to get our embeddings.
With deciding on using a LLM to embed our table data, the following questions need to be asked:
- Do we embed the whole row?
- Do we embed individual columns?
For this post, we are going to embed a single column. This column we are going to use is “Title”.
To update the vector column for all rows within the table, we need to ensure that a primary key is defined. In our case, the primary key is “ID”.
Python
To update all the records in the table, we need to loop through all the records and update the record based on the primary key. In this case, the primary key is “ID”.
First, we need to import the required Python packages:
#Setup imports required

import os
import sys
import array
import time
import oracledb
import cohere
Then we need to setup our API key for Cohere. Keep in mind that the testing API key for Cohere can only do ten calls per minute. If you need to do large tables, hundreds plus records, you may need to get a production key.
#set Cohere API key
api_key = “triZDP9cGrfwtxwb99IgM3hrt3txs"
co = cohere.Client(api_key)
With imports and api key set, we now need to setup a database connection. With python there are multiple ways of making a connection; in this case we are going to define database connection function that can be used later.
#define database connection function

def database_connection():

    try:
        connection = oracledb.connect(
            user="<user>”,
            password="<password>”,
            dsn="xxx.xxx.xxx.xxx:1521/<service>”
            )
        print('connected’)
        return connection
    except:
	print('Could not make a connection’)
Next, we are defining the SQL statements that are going to be ran to identify the records we want, how to update the vector column, and then select the updated records to confirm that they were updated. These are set as variables within the script as follows:
fetch_query = "select id, title from vector.video_games_vec where id between 71 and 75 order by id”

select_query = "select id, title, vg_vec1 from vector.video_games_vec where id between 71 and 75 order by id”

sql_update = "update vector.video_games_vec set vg_vec1 = :1 where id = :2”
Notice that we are using a simple “between” statement with the SQL statements to limit the number of rows. This is only for testing purposes and not to make the script automated.
Next, we are going to connect to the database based on the previously defined function.
connection = database_connection()
Everything we need to update our table is now in place. Using the connection, we are going to setup another cursor for querying the data and then looping through it and update the required rows.
with connection.cursor() as query_cursor:

    #prepare the select statement
    query_cursor.prepare(fetch_query)

    #define arrays being used
    ids = []
    data = []
    vec = []
    vrows = []
    rows_returned = 0

    #execute the select statement
    query_cursor.execute(fetch_query)

    #get all the rows/data returned
    rows = query_cursor.fetchall()

    #get the number of rows returned
    rows_returned = query_cursor.rowcount

    print('Got ' + str(rows_returned) + ' rows’)
    #print(rows[0])

    #Process row into list sets

    for row in rows:
        ids.append(row[0])
        dat = 'query: ' + row[1]
        data.append(dat)

    #Get length of lists for the ids (in this case 10)
    id_len = len(ids)

    #Vectorize the data within one interation
    for x in range(0, 1):

        response = co.embed(
            texts=data,
            model='embed-english-light-v3.0’,
            input_type=“search_query"
            )

        #format and remember vectors for all records returned
        for y in range(0, id_len):

            vec = response.embeddings[y]

            #Set vector to FLOAT32
            #vec2 = array.array("f", vec)

            #Set vector to FLOAT64
            vec2 = array.array("d", vec)

            #append add the ids and embeddings to an array
            vrows.append([ids[y], vec2])

            print("Tuple -> " + str(ids[y]) + ', '+ str(vec))

            #Update tuple in table

            try:
                update_cursor = connection.cursor()
                update_cursor.setinputsizes(None, oracledb.DB_TYPE_VECTOR)
                update_cursor.execute(sql_update, [vec2, ids[y]])
                connection.commit()
            except:
                print("Unable to update table\n”)

#Select the records that have been updated.
try:

    select_cursor = connection.cursor()
    select_cursor.prepare(select_query)
    select_cursor.execute(select_query)

    for row in select_cursor:
        print(row)

except:

    print("Cannot select from table”)
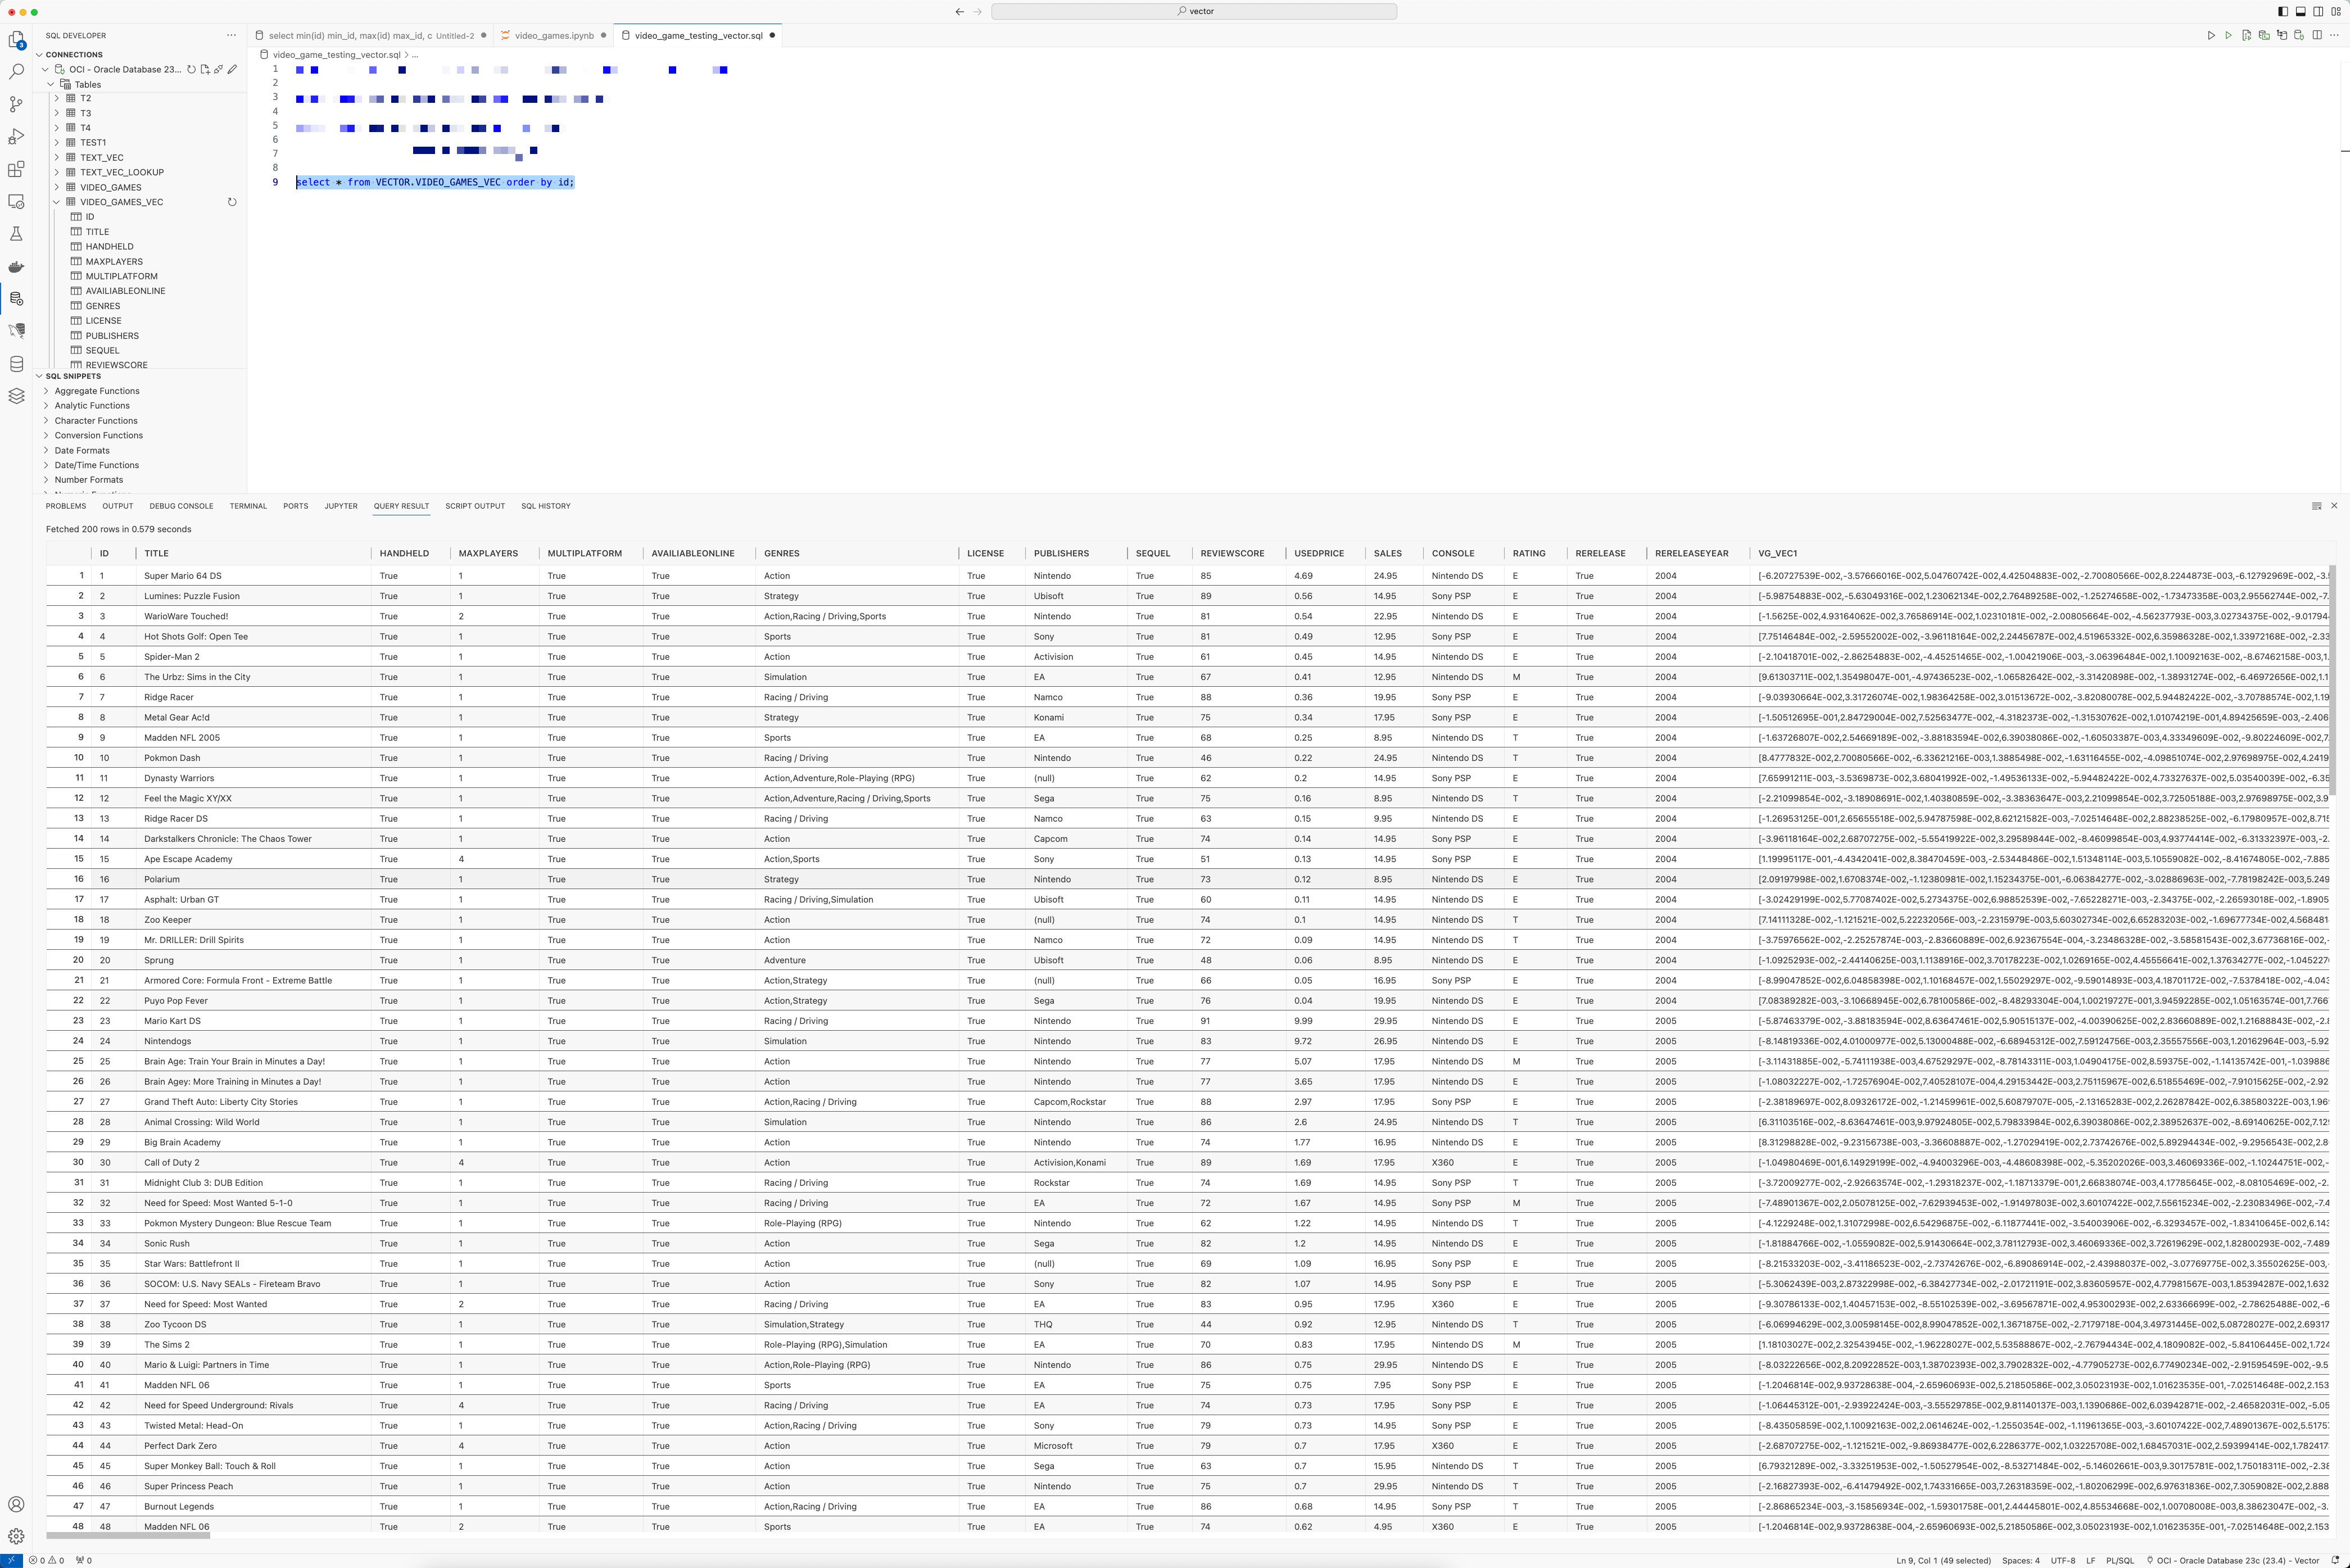
Once we run this python code, we now have records in the database updated with vectors that are related to the title of the video game.

In the next blog post, we will take a look at how to do a semantic search using python and the Oracle Vector Datatype.


